Alongside comprehensive communication features, HostPapa Basic Email also includes support for synchronizing contacts between your devices. Once you’ve activated your HostPapa Basic Email service, you can configure contact synchronization via the following steps.
Synchronizing contacts from your HostPapa Basic Email account uses a standard called CardDAV. It works in similar way to the manual export and import of vCards and is supported on Android and iOS devices, Windows, Mac OS and Linux devices. Some operating systems may need a third-party client to enable support.
Use the links below to follow configuration steps for your device:
Contacts synchronization for Android devices
We’ll configure contacts synchronization using DAVdroid, alongside another free application, CardDav Sync Free.
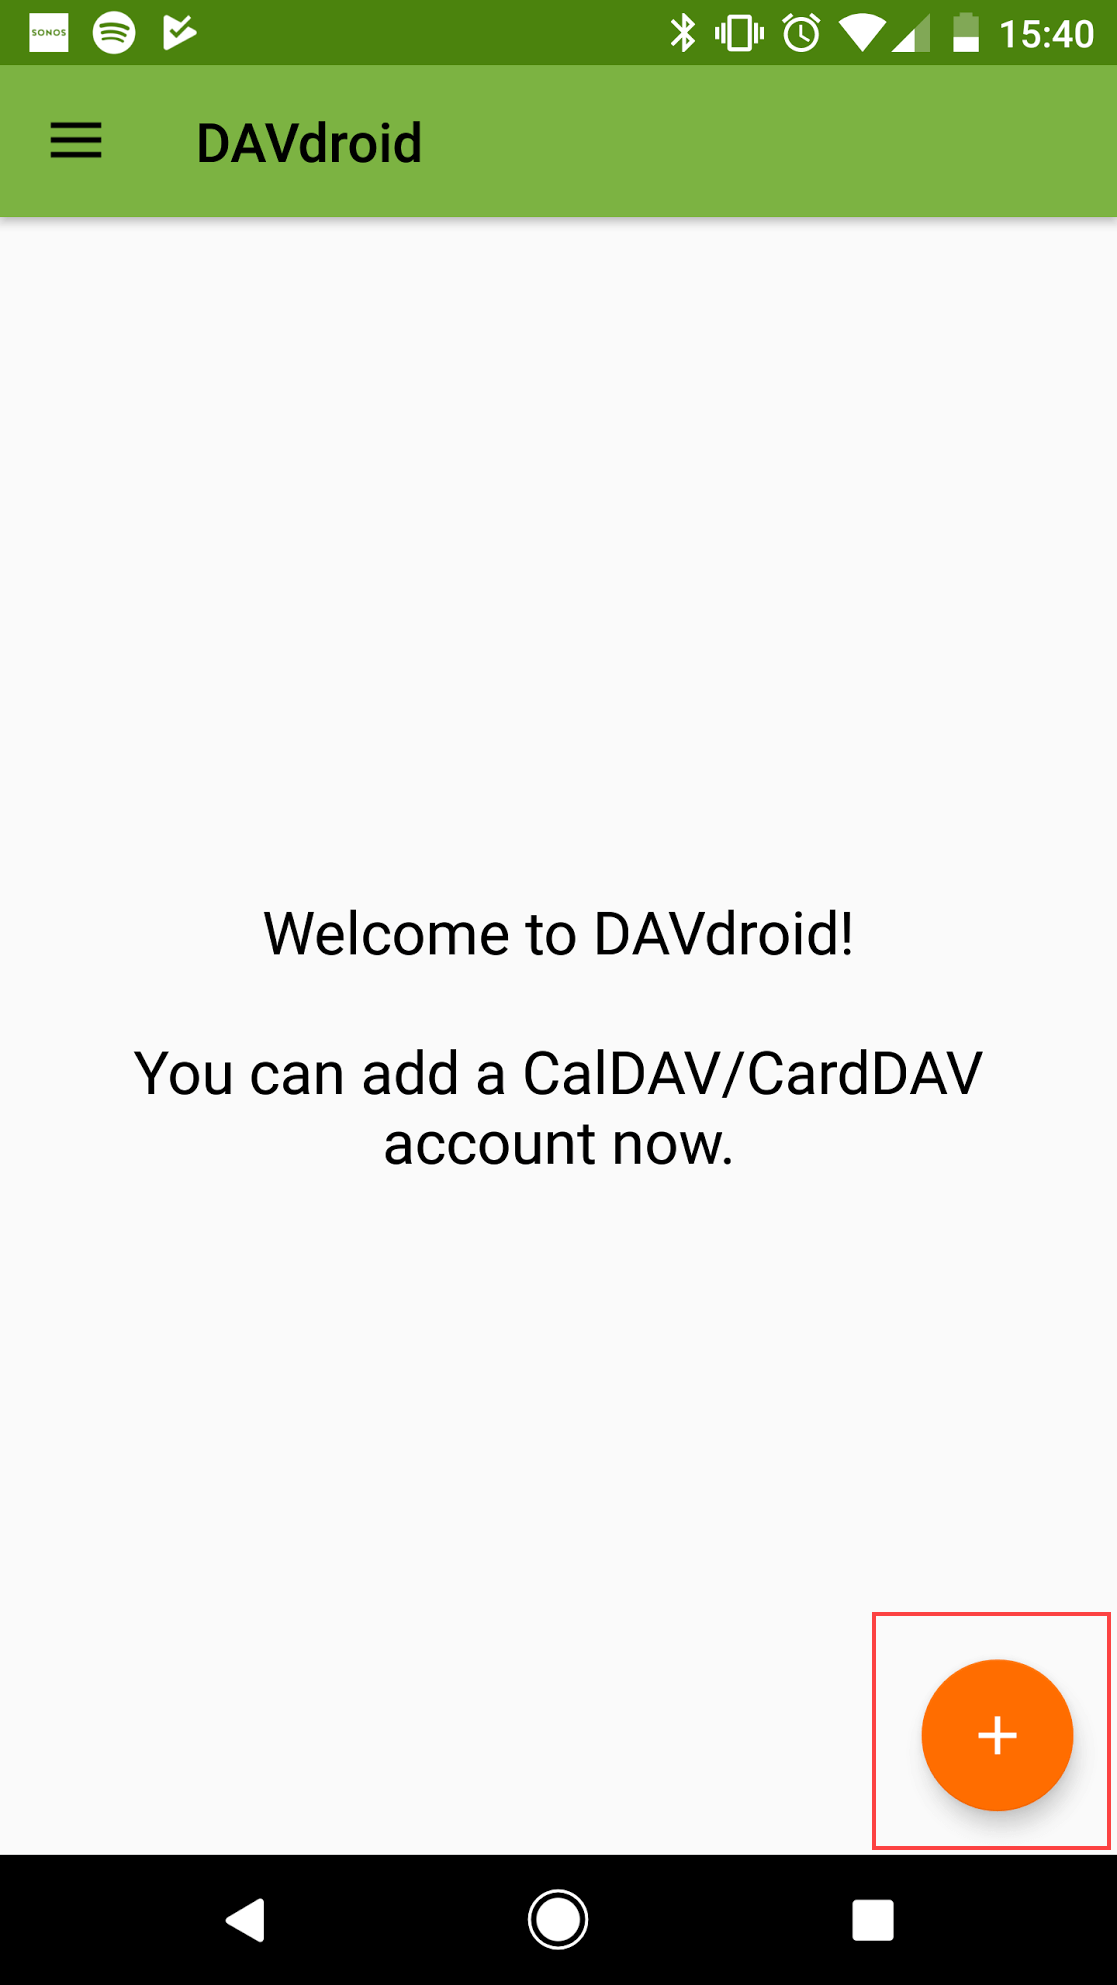
DAVdroid setup
Open the DAVdroid app. You may be prompted to set up your account. Alternatively, tap the plus button (+) at the bottom of the screen.
You’ll be asked how you wish to add your account. Tap the radio button next to Login with URL and user name and then enter the following details.
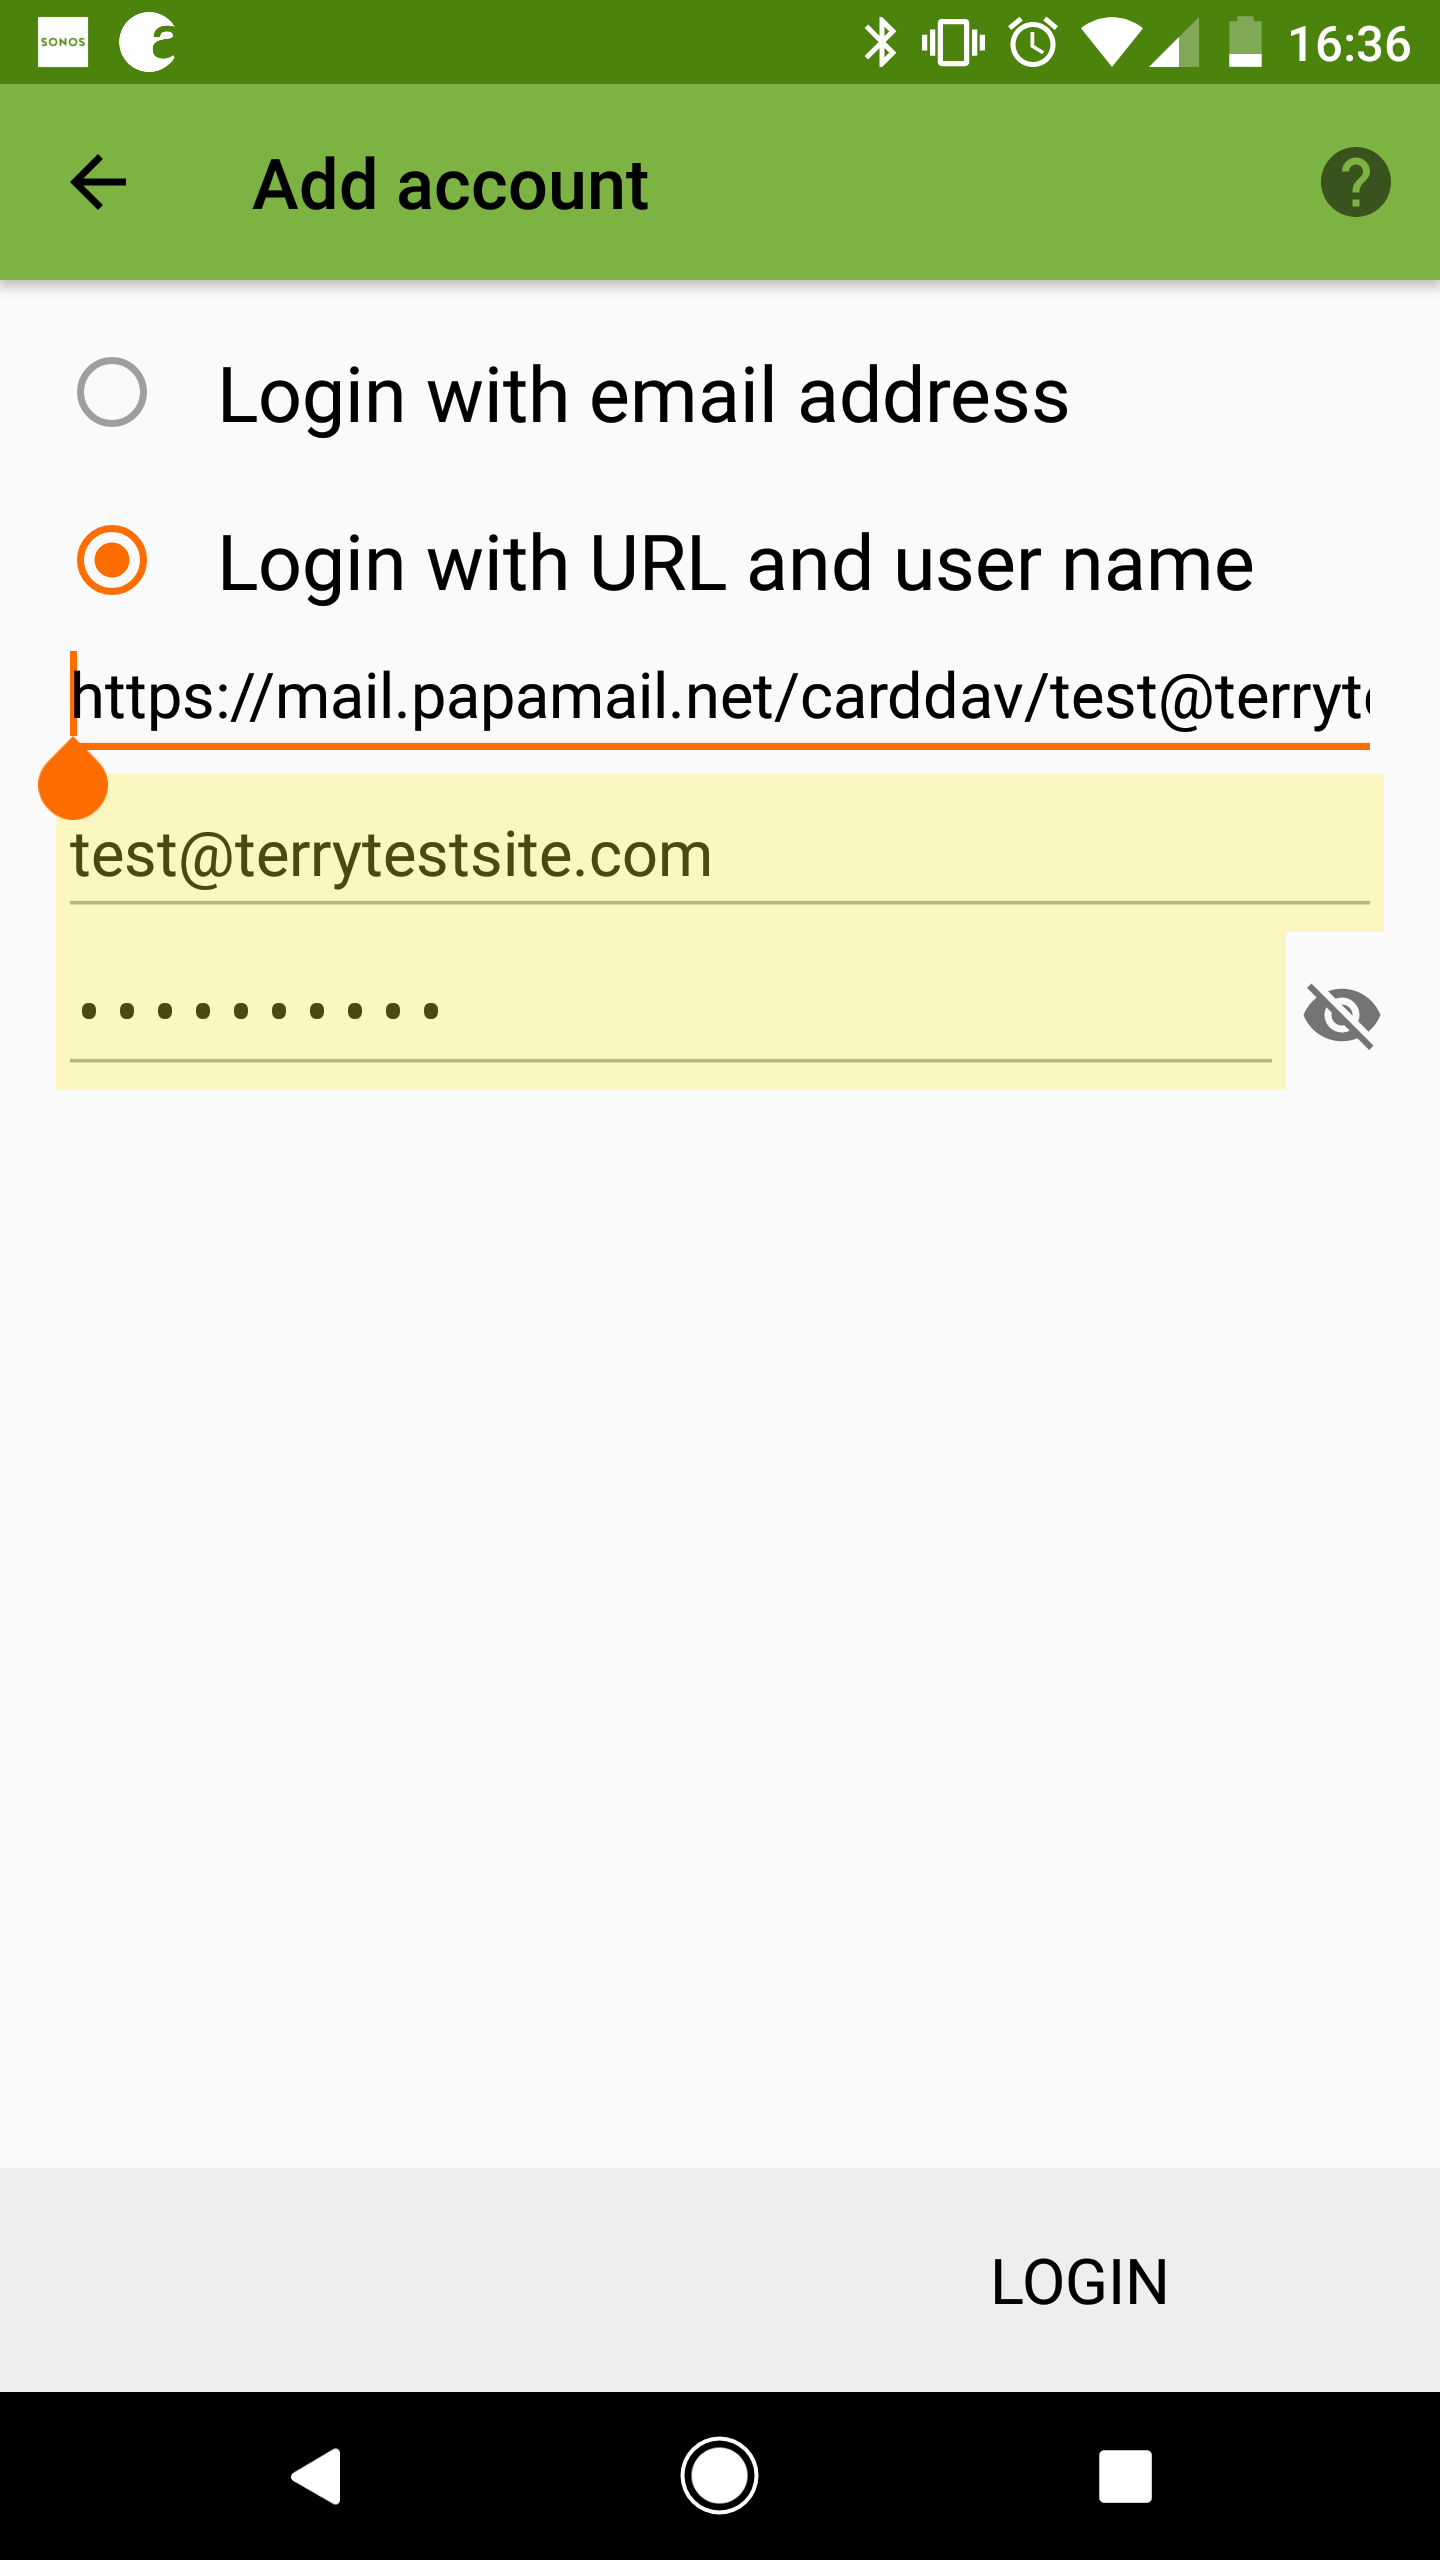
- Base URL: https://mail.papamail.net/carddav/[youremailaddress] (changing [youremailaddress] for your HostPapa basic Email address.
- Username: enter your email address.
- Password: enter your email password (you can find this in the confirmation email that was sent to you when you purchased the service).
Tap Login.
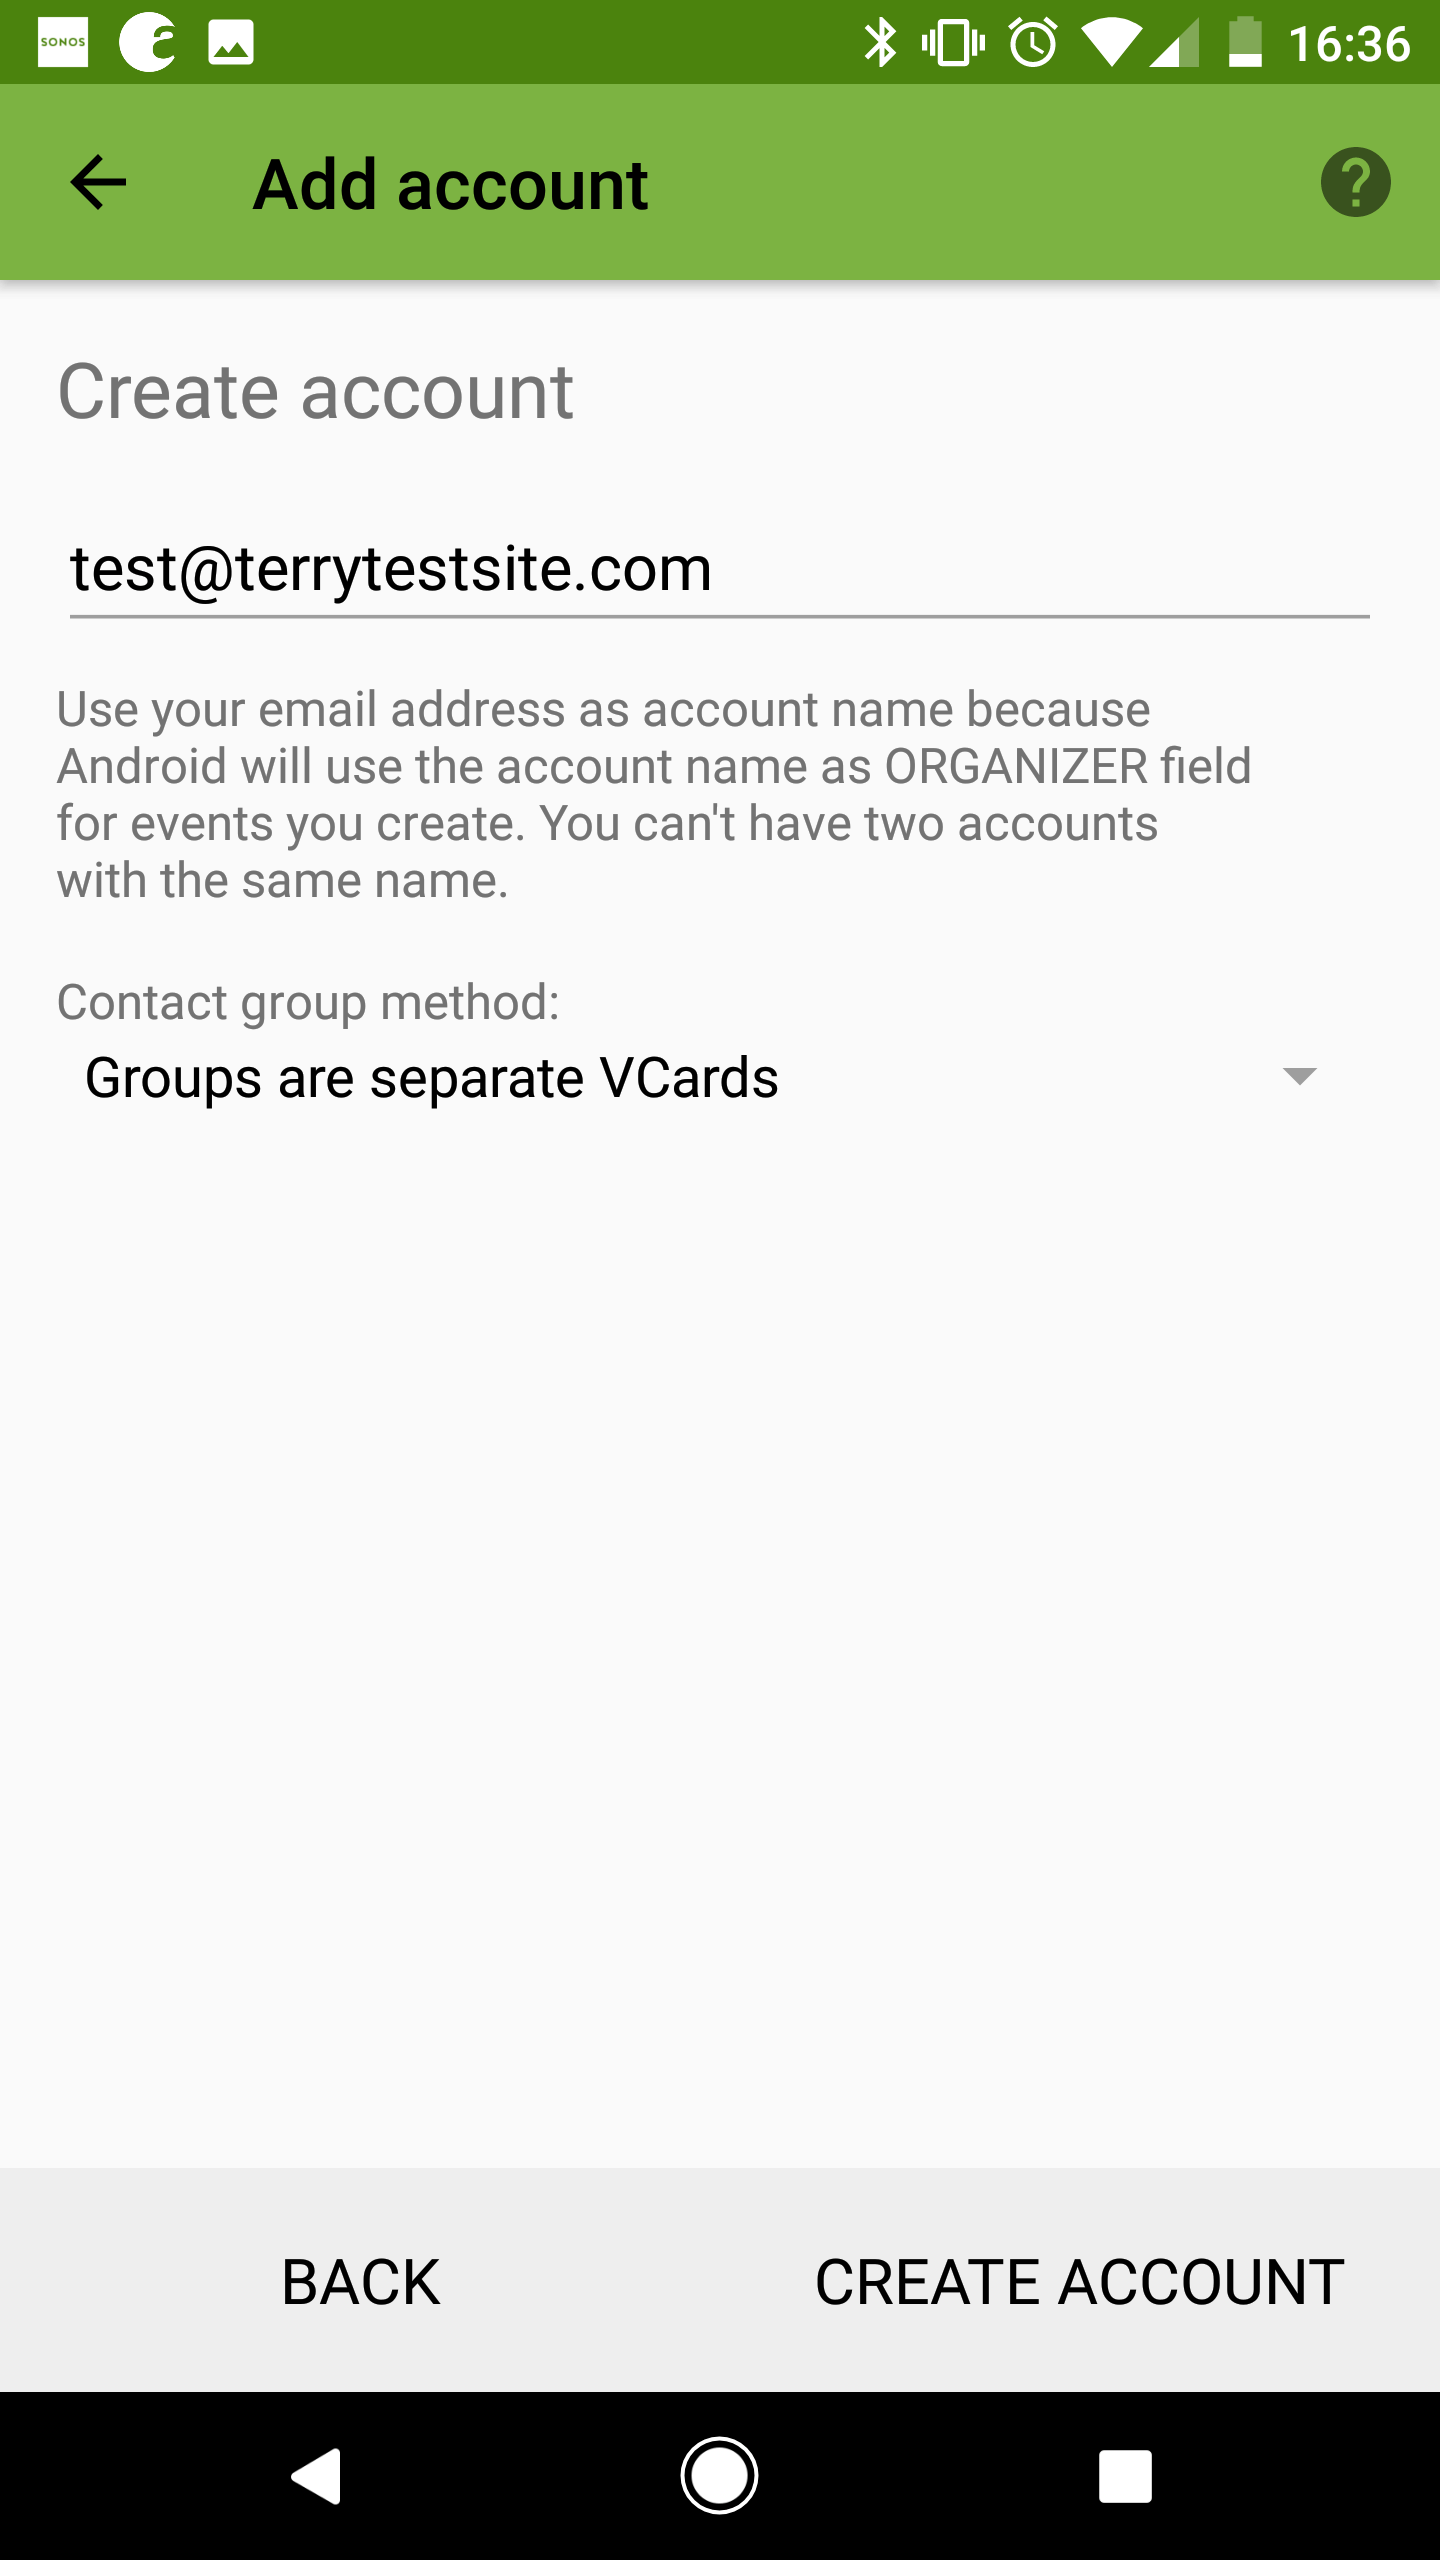
In the next screen, you should see that your email address has been automatically populated as the account name to be used. Leave the default settings in place and tap Create Account.
With the account created, you may receive a notification that additional permissions are required.
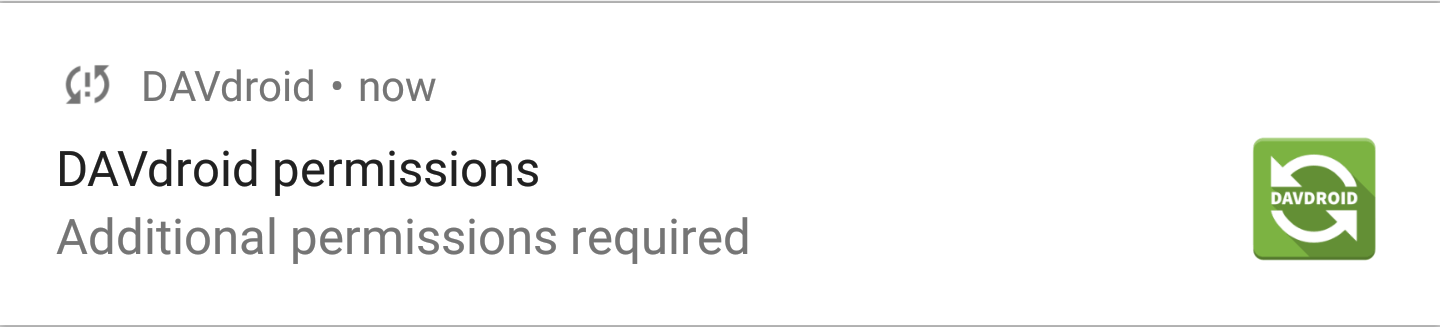
Tap the notification, then tap the Request Contacts Permissions button in the DAVdroid permissions screen.
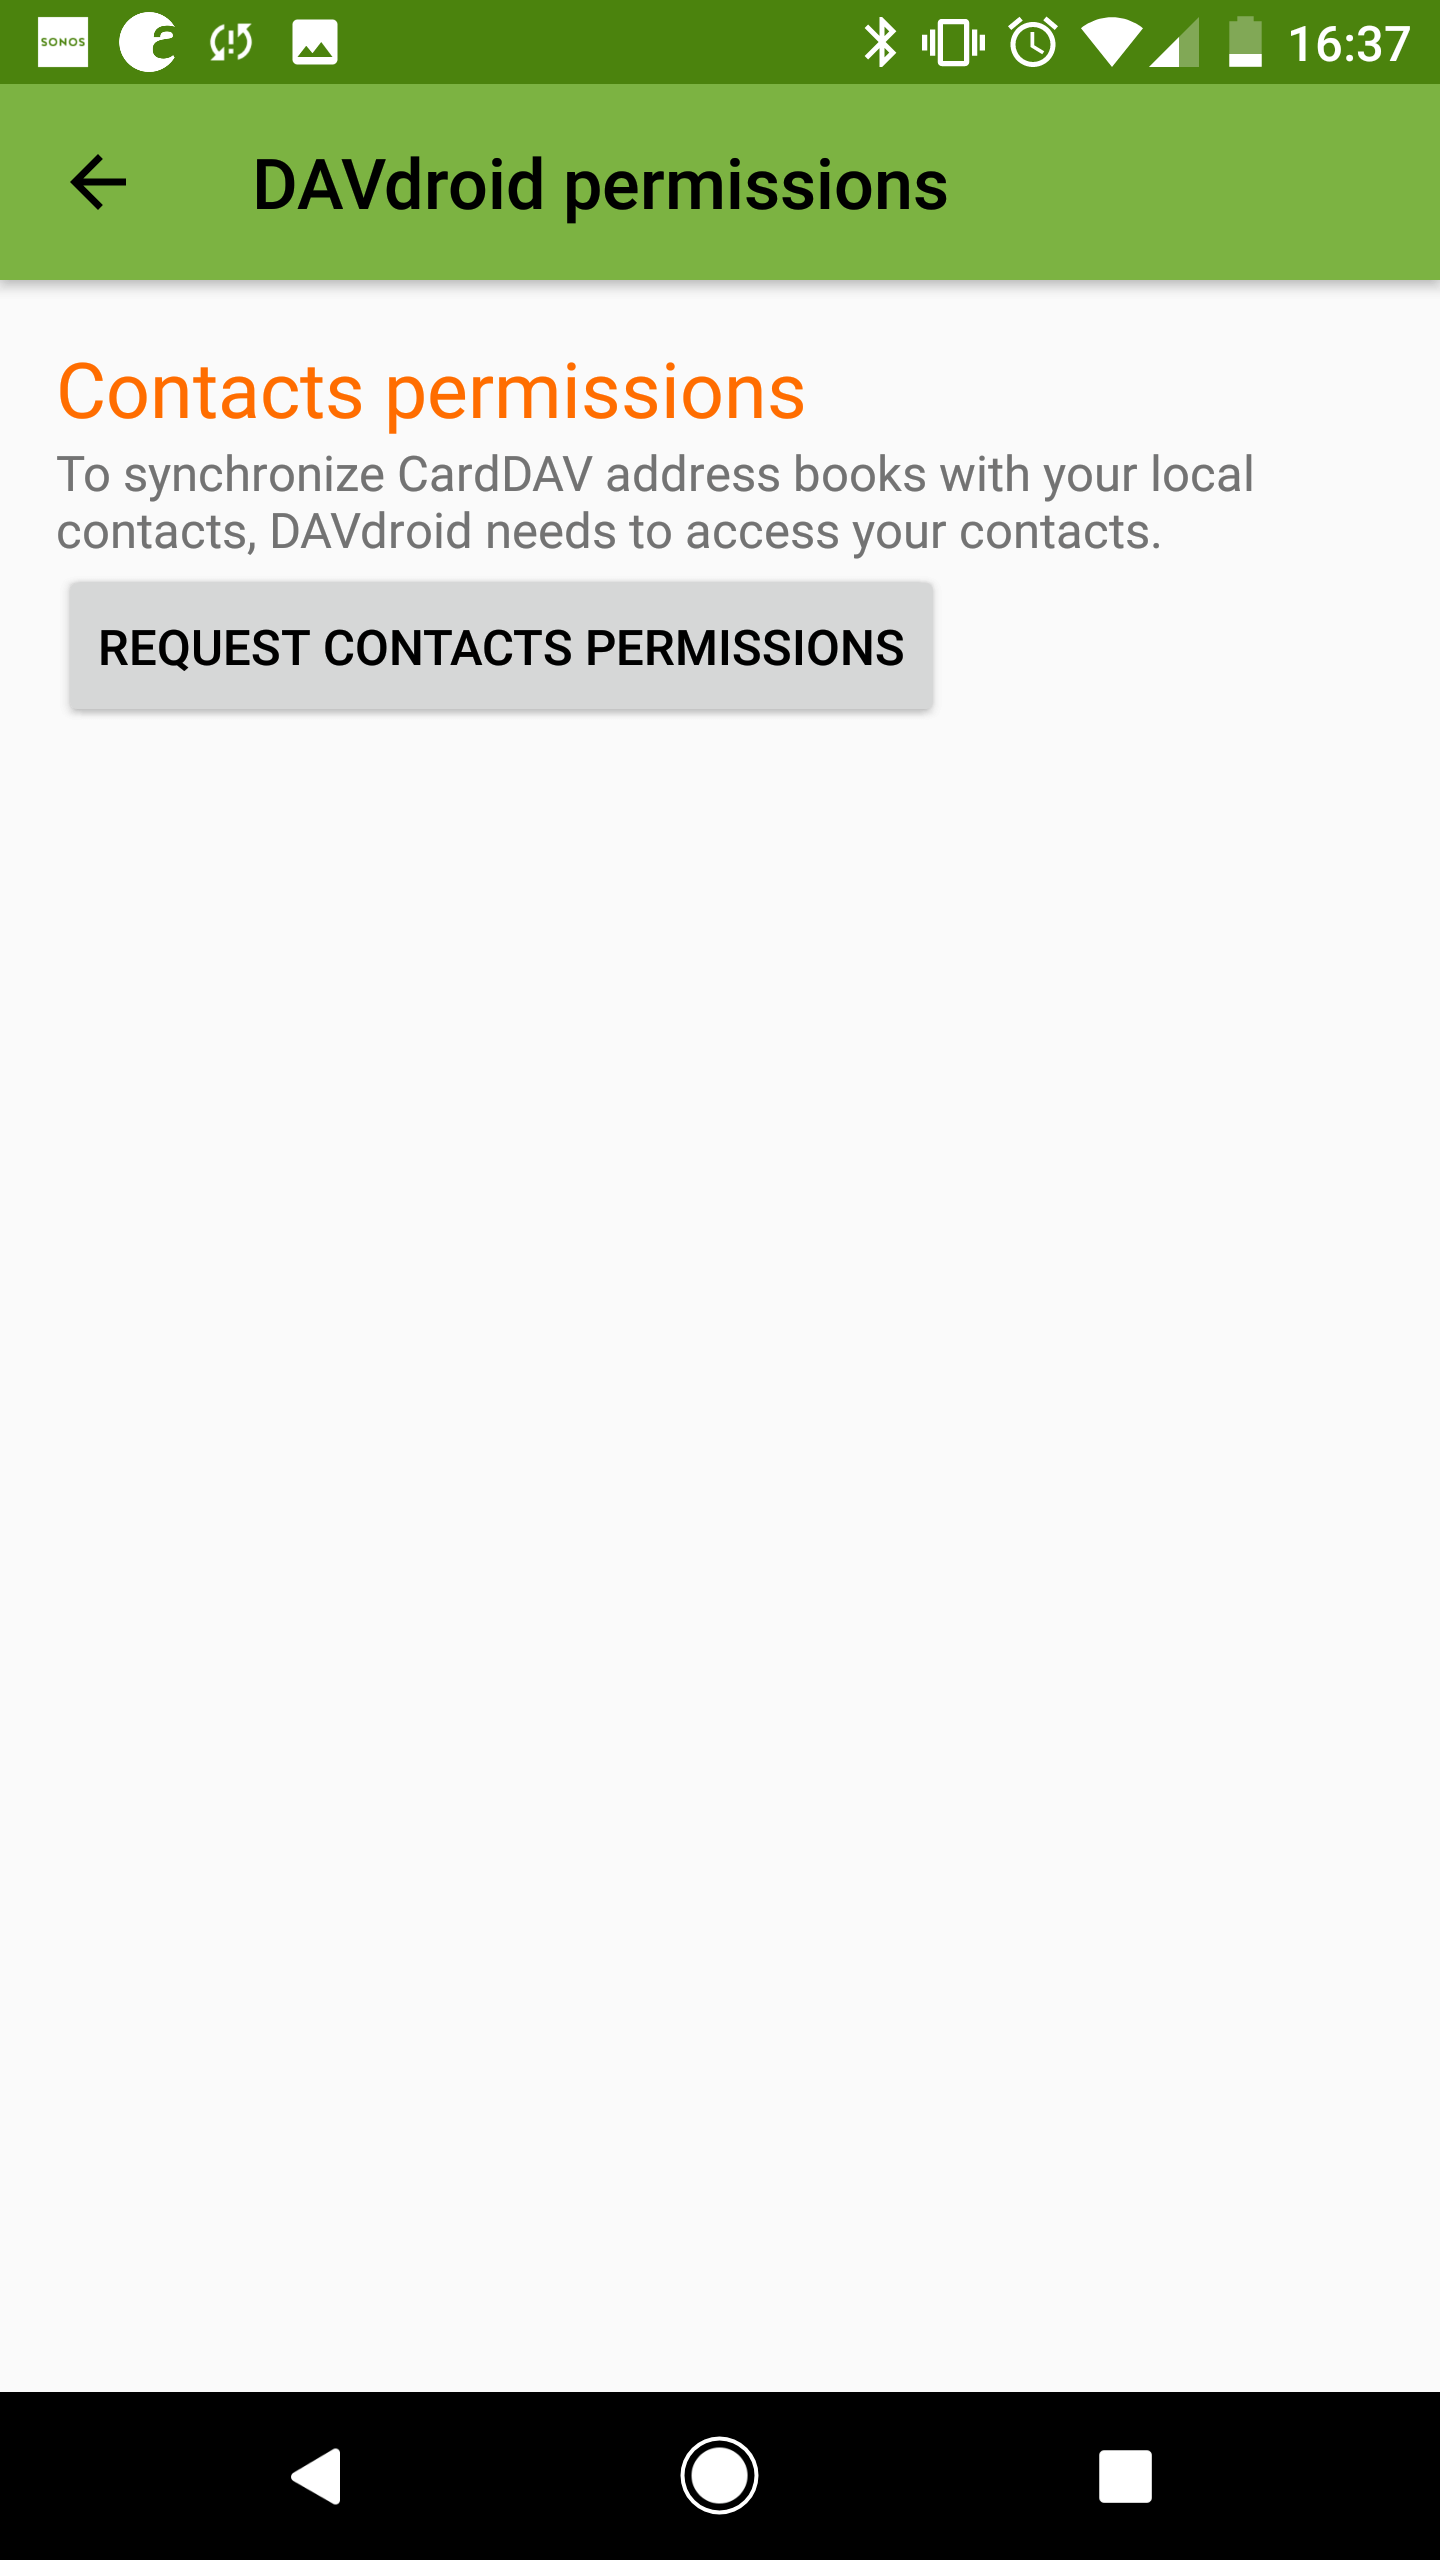
Tap Allow to permit the DAVdroid app to access your calendar.
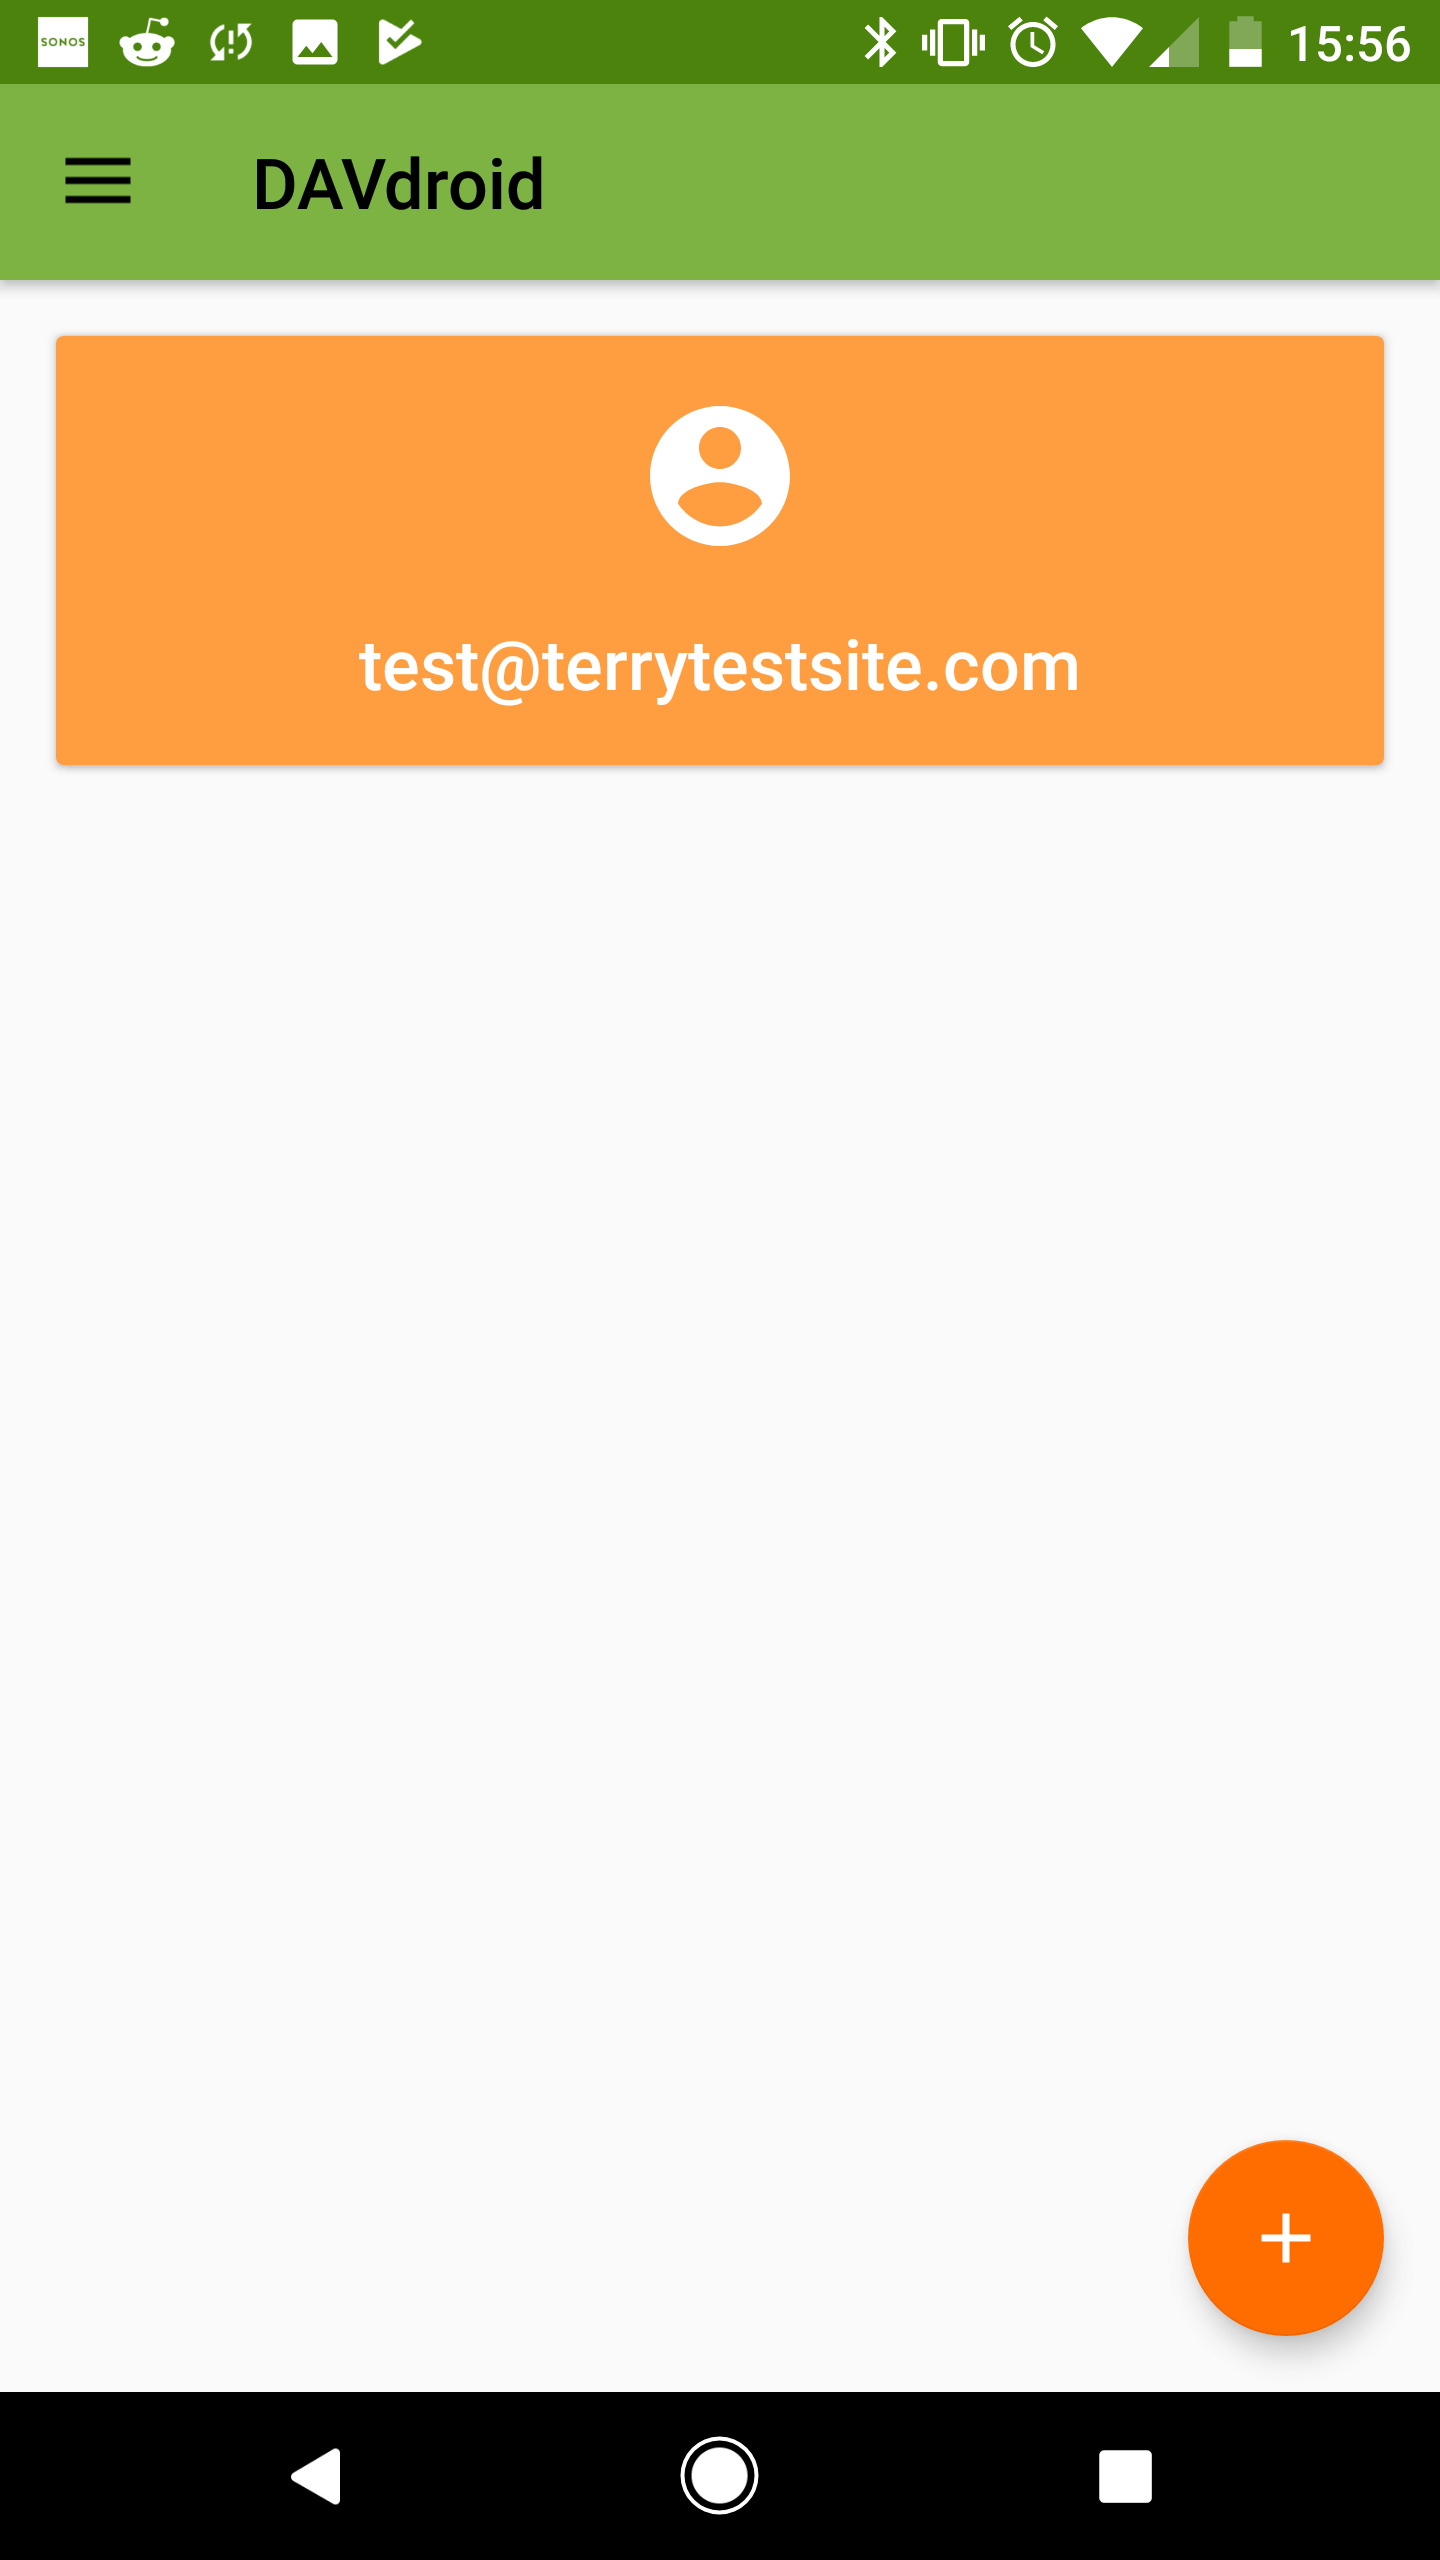
Contacts in your HostPapa Basic Email account will now be visible in the Android Contacts app on your device. Any changes made to your contacts will show up on your device with a refresh.
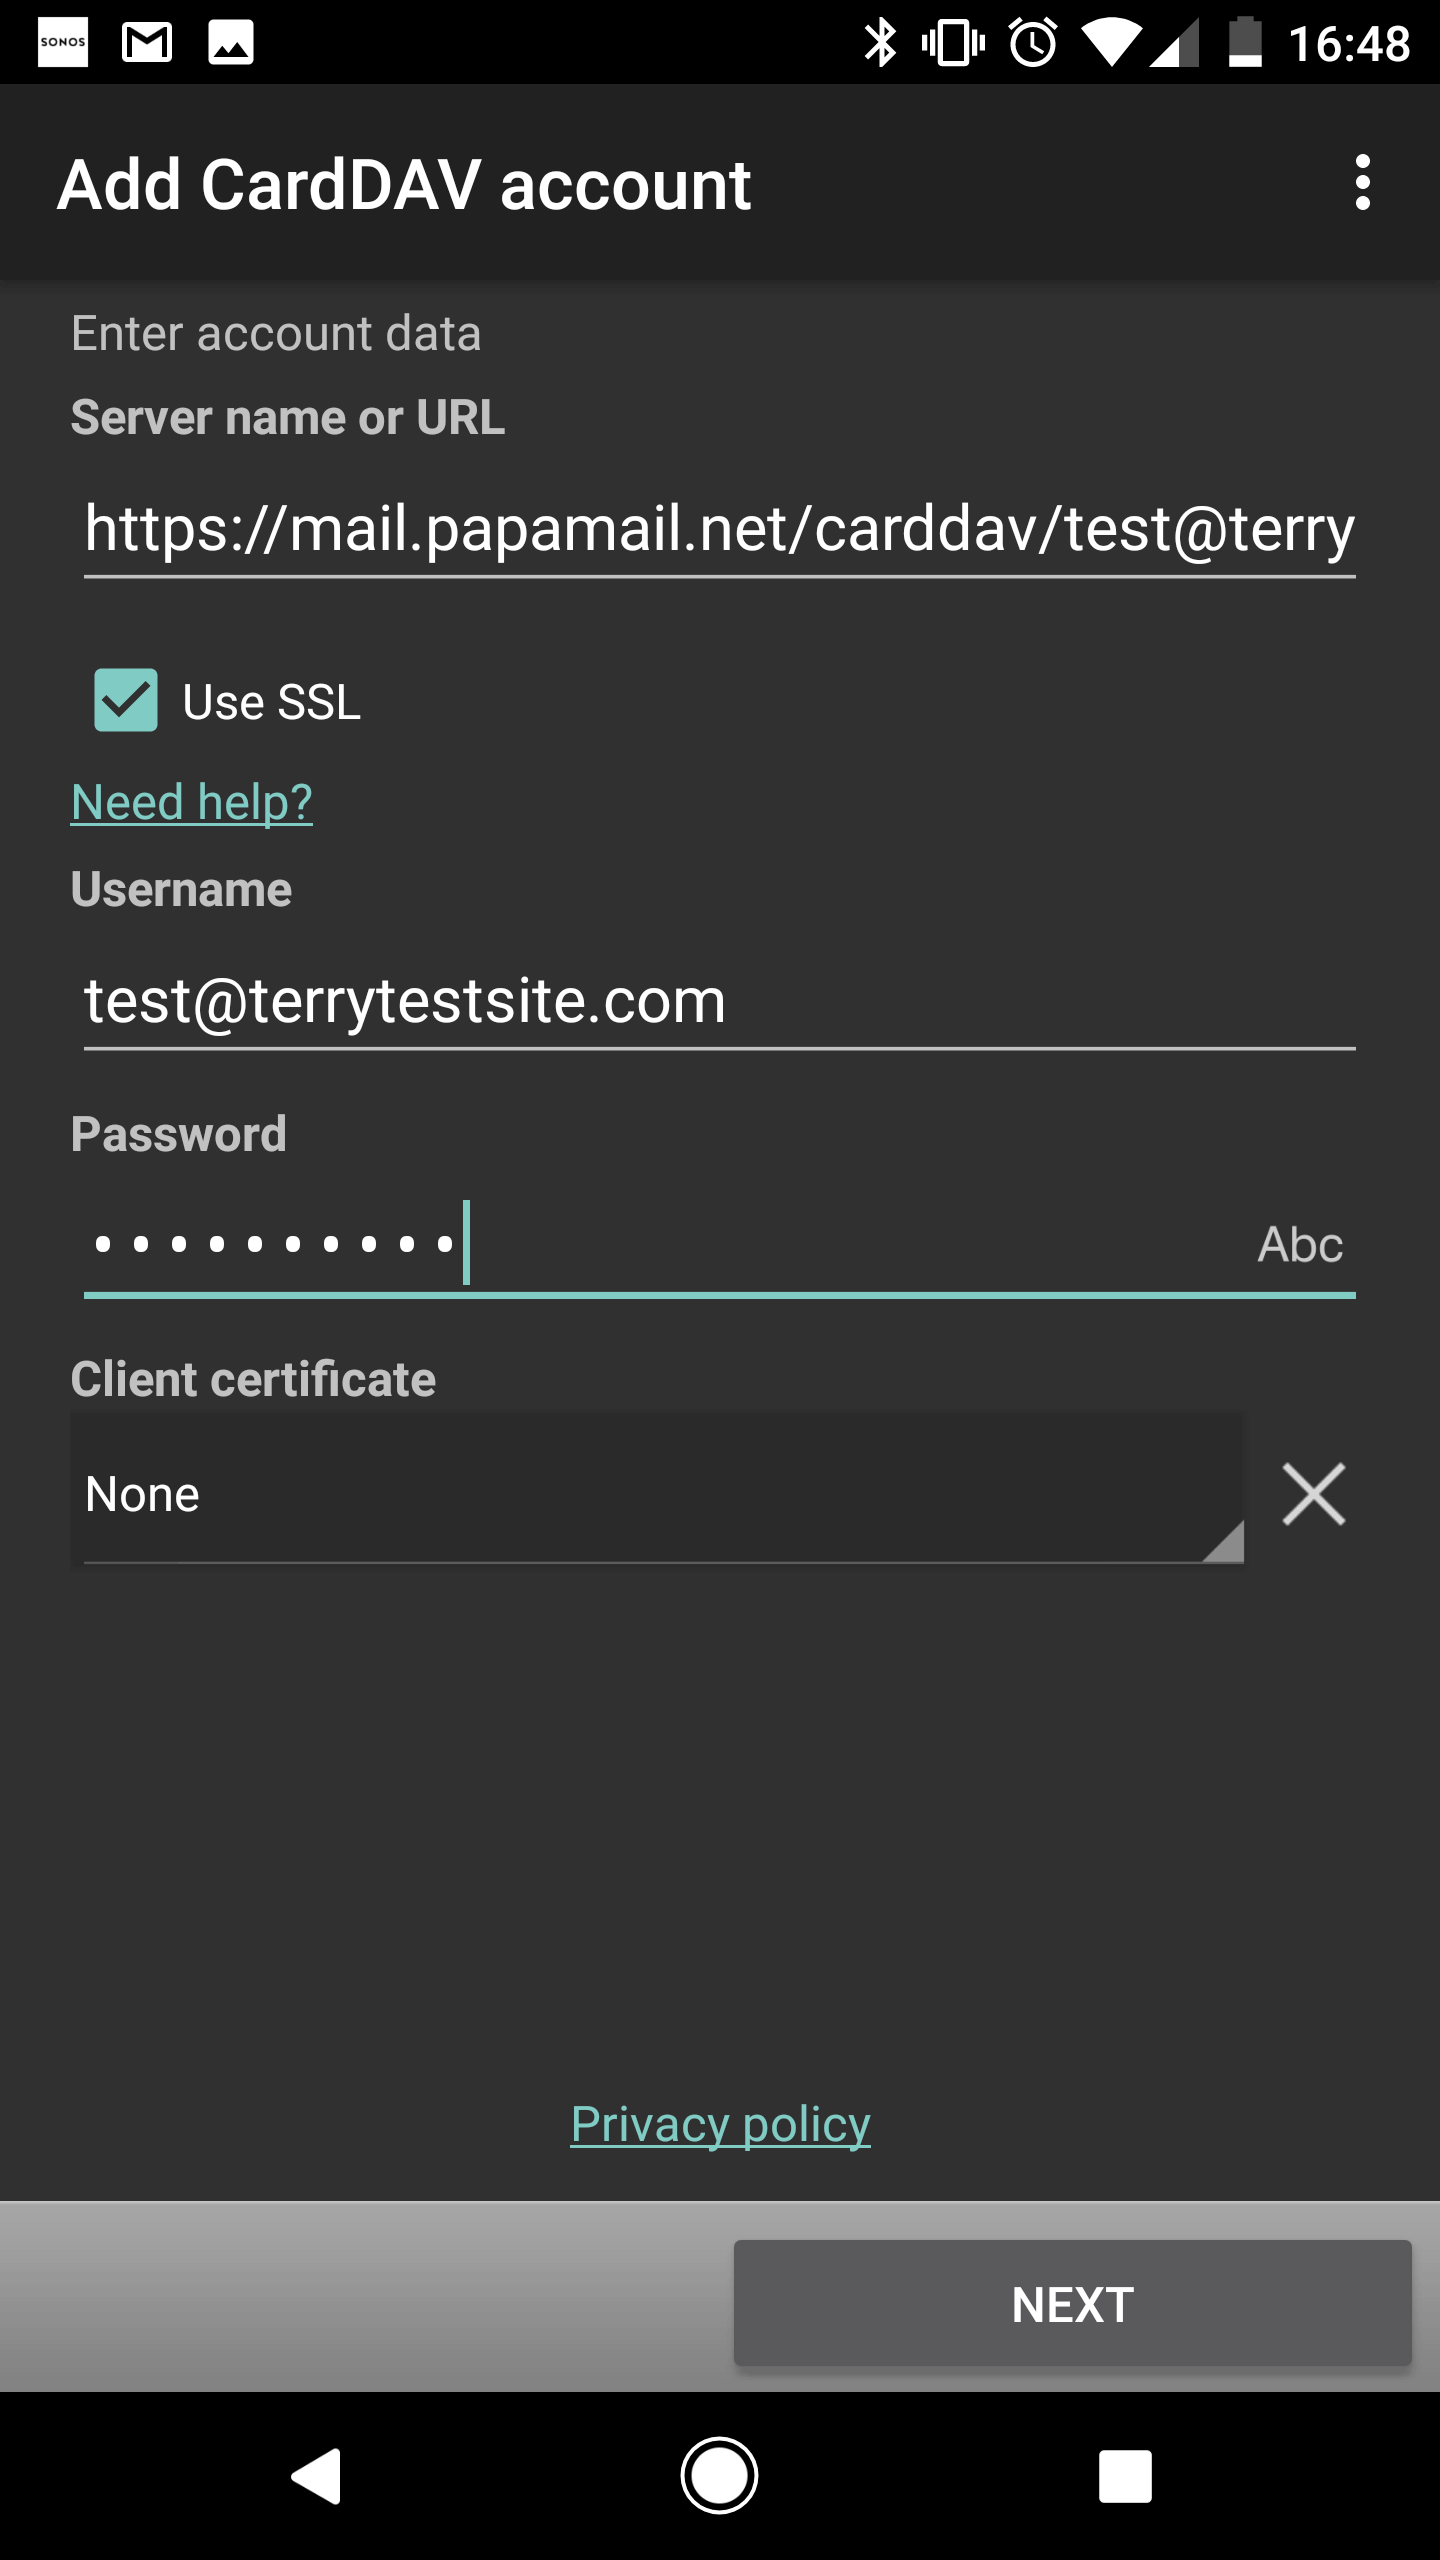
CardDav Sync Free setup
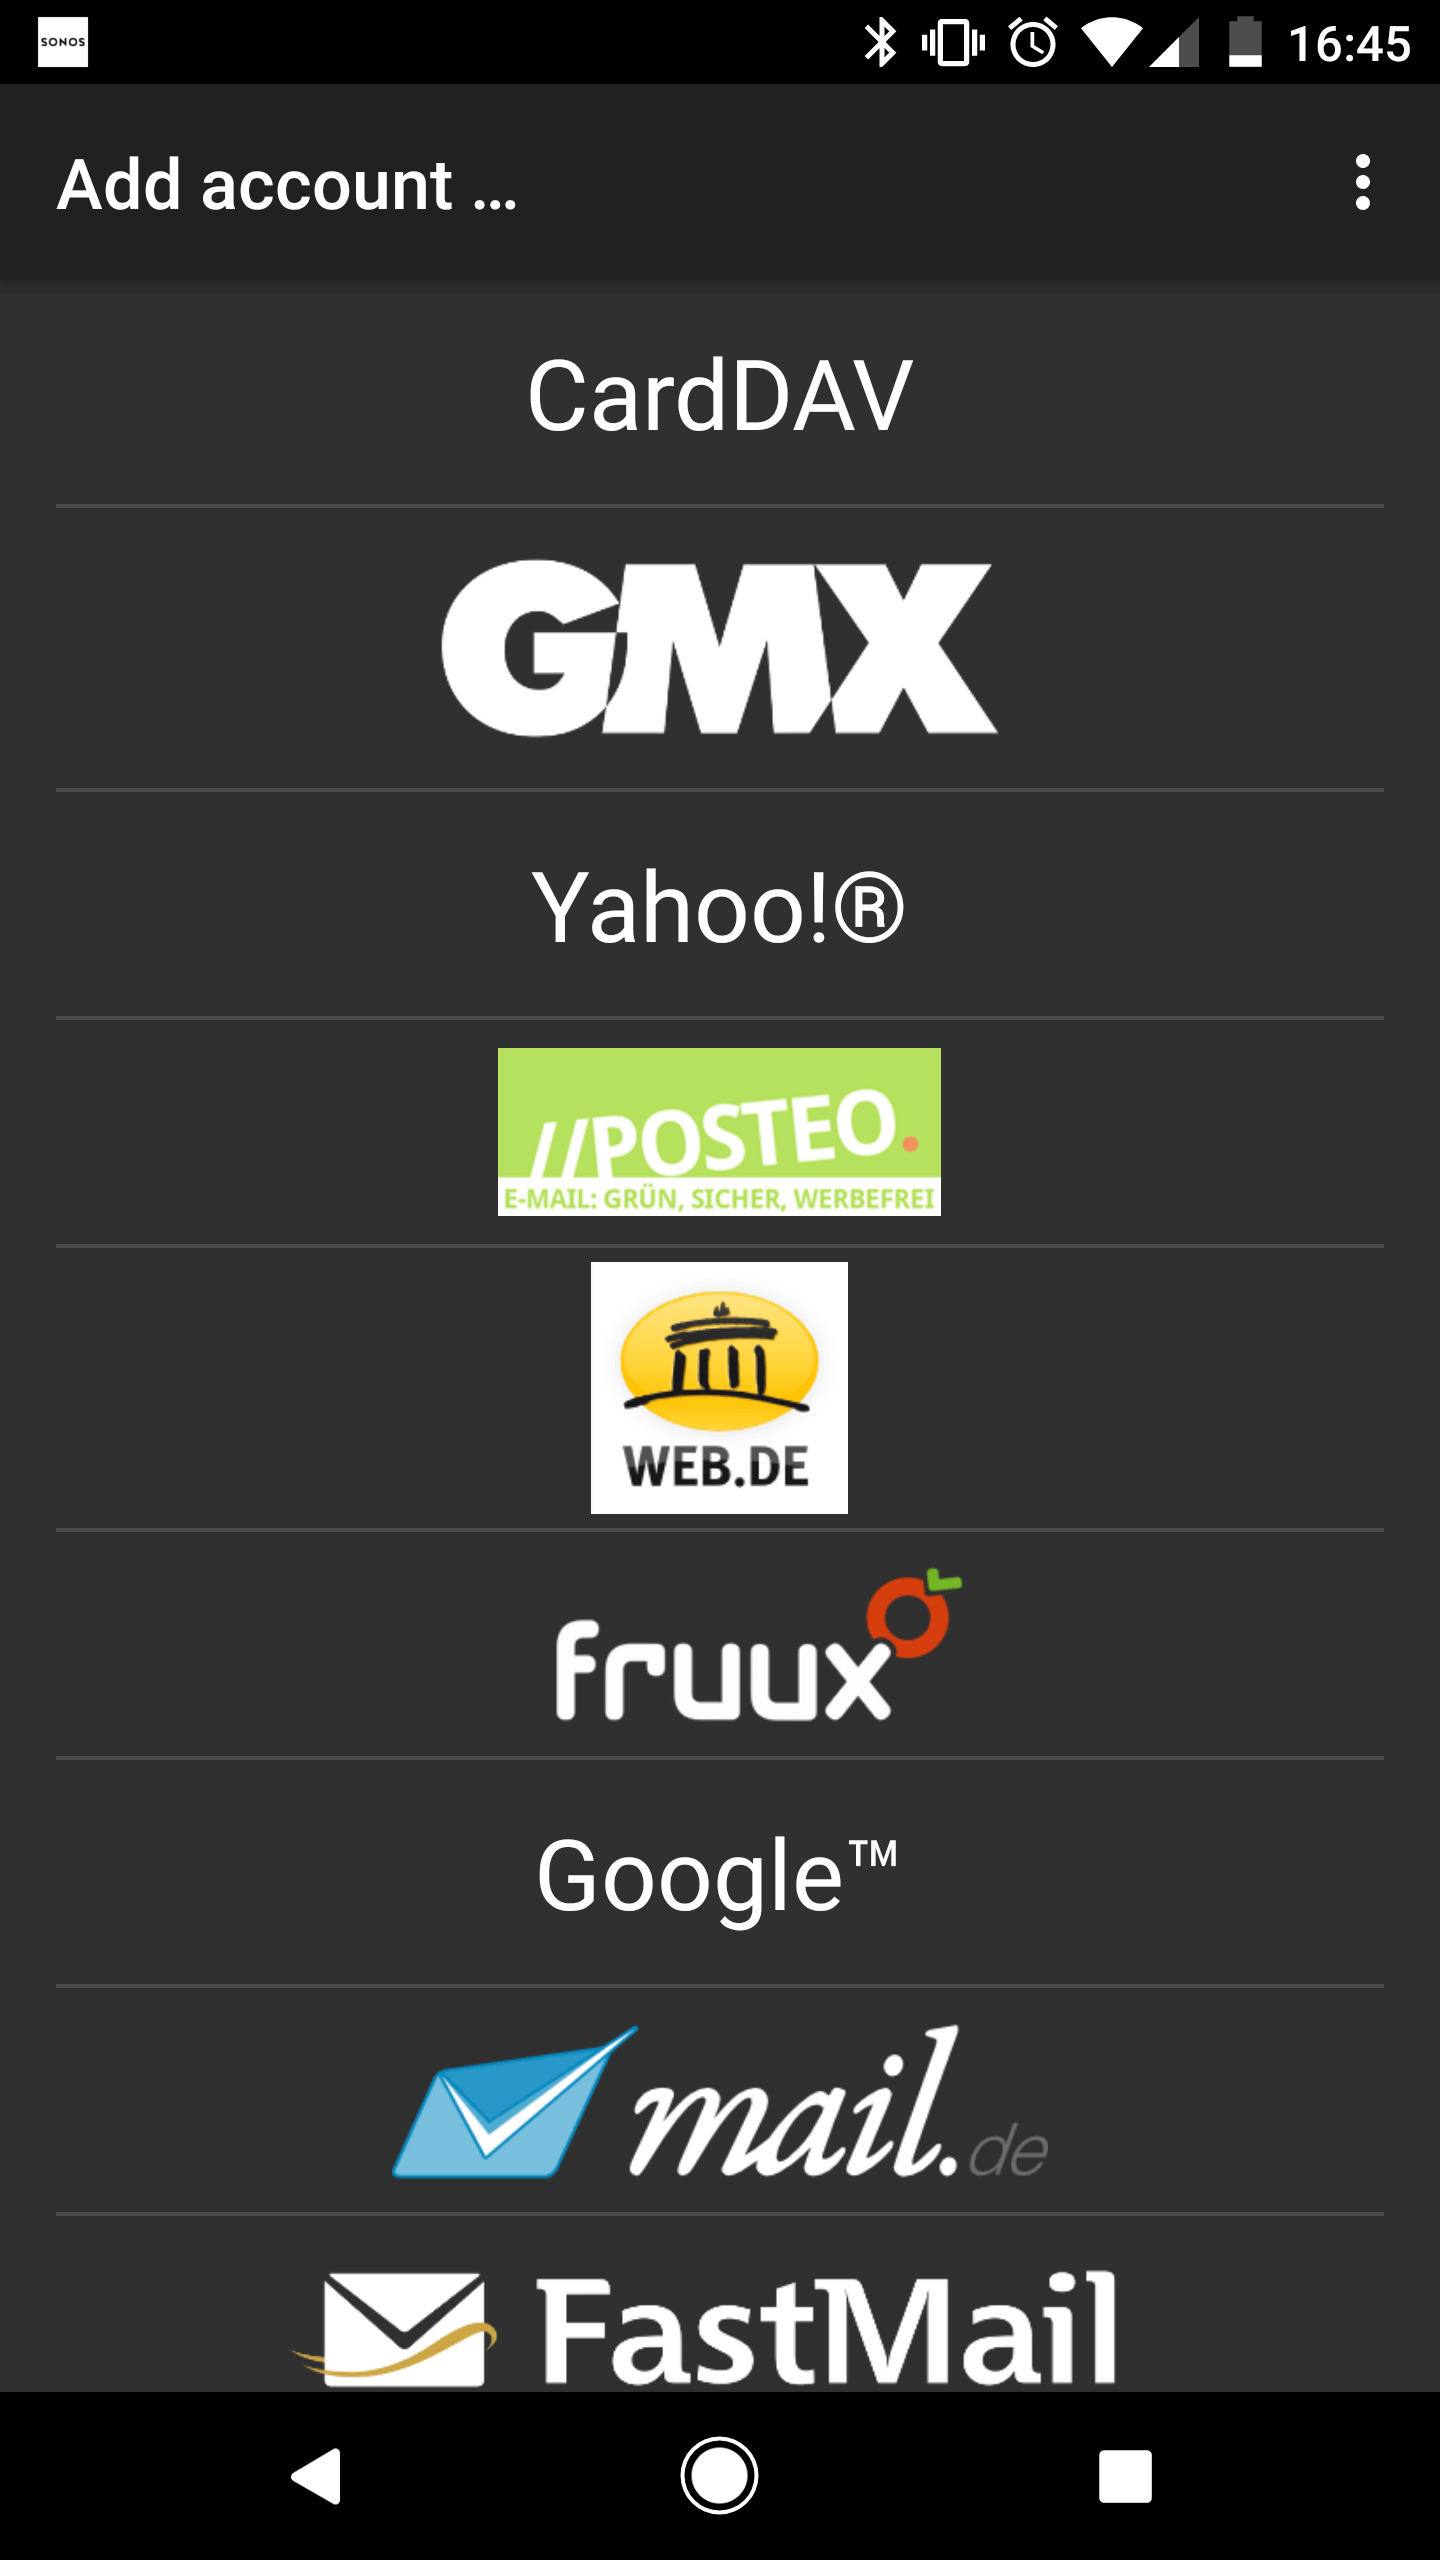
Visit the Google Play Store and install CardDav Sync Free. Once installed, open the app. The app opens at the Add account screen. Select CardDAV.
Enter the following details:
- Server name or URL: https://mail.papamail.net/carddav/[youremailaddress] (changing [youremailaddress] for your HostPapa Basic Email address. Ensure Use SSL is checked.
- Username: enter your email address.
- Password: enter your email password (you can find this in the confirmation email that was sent to you when you purchased the service).
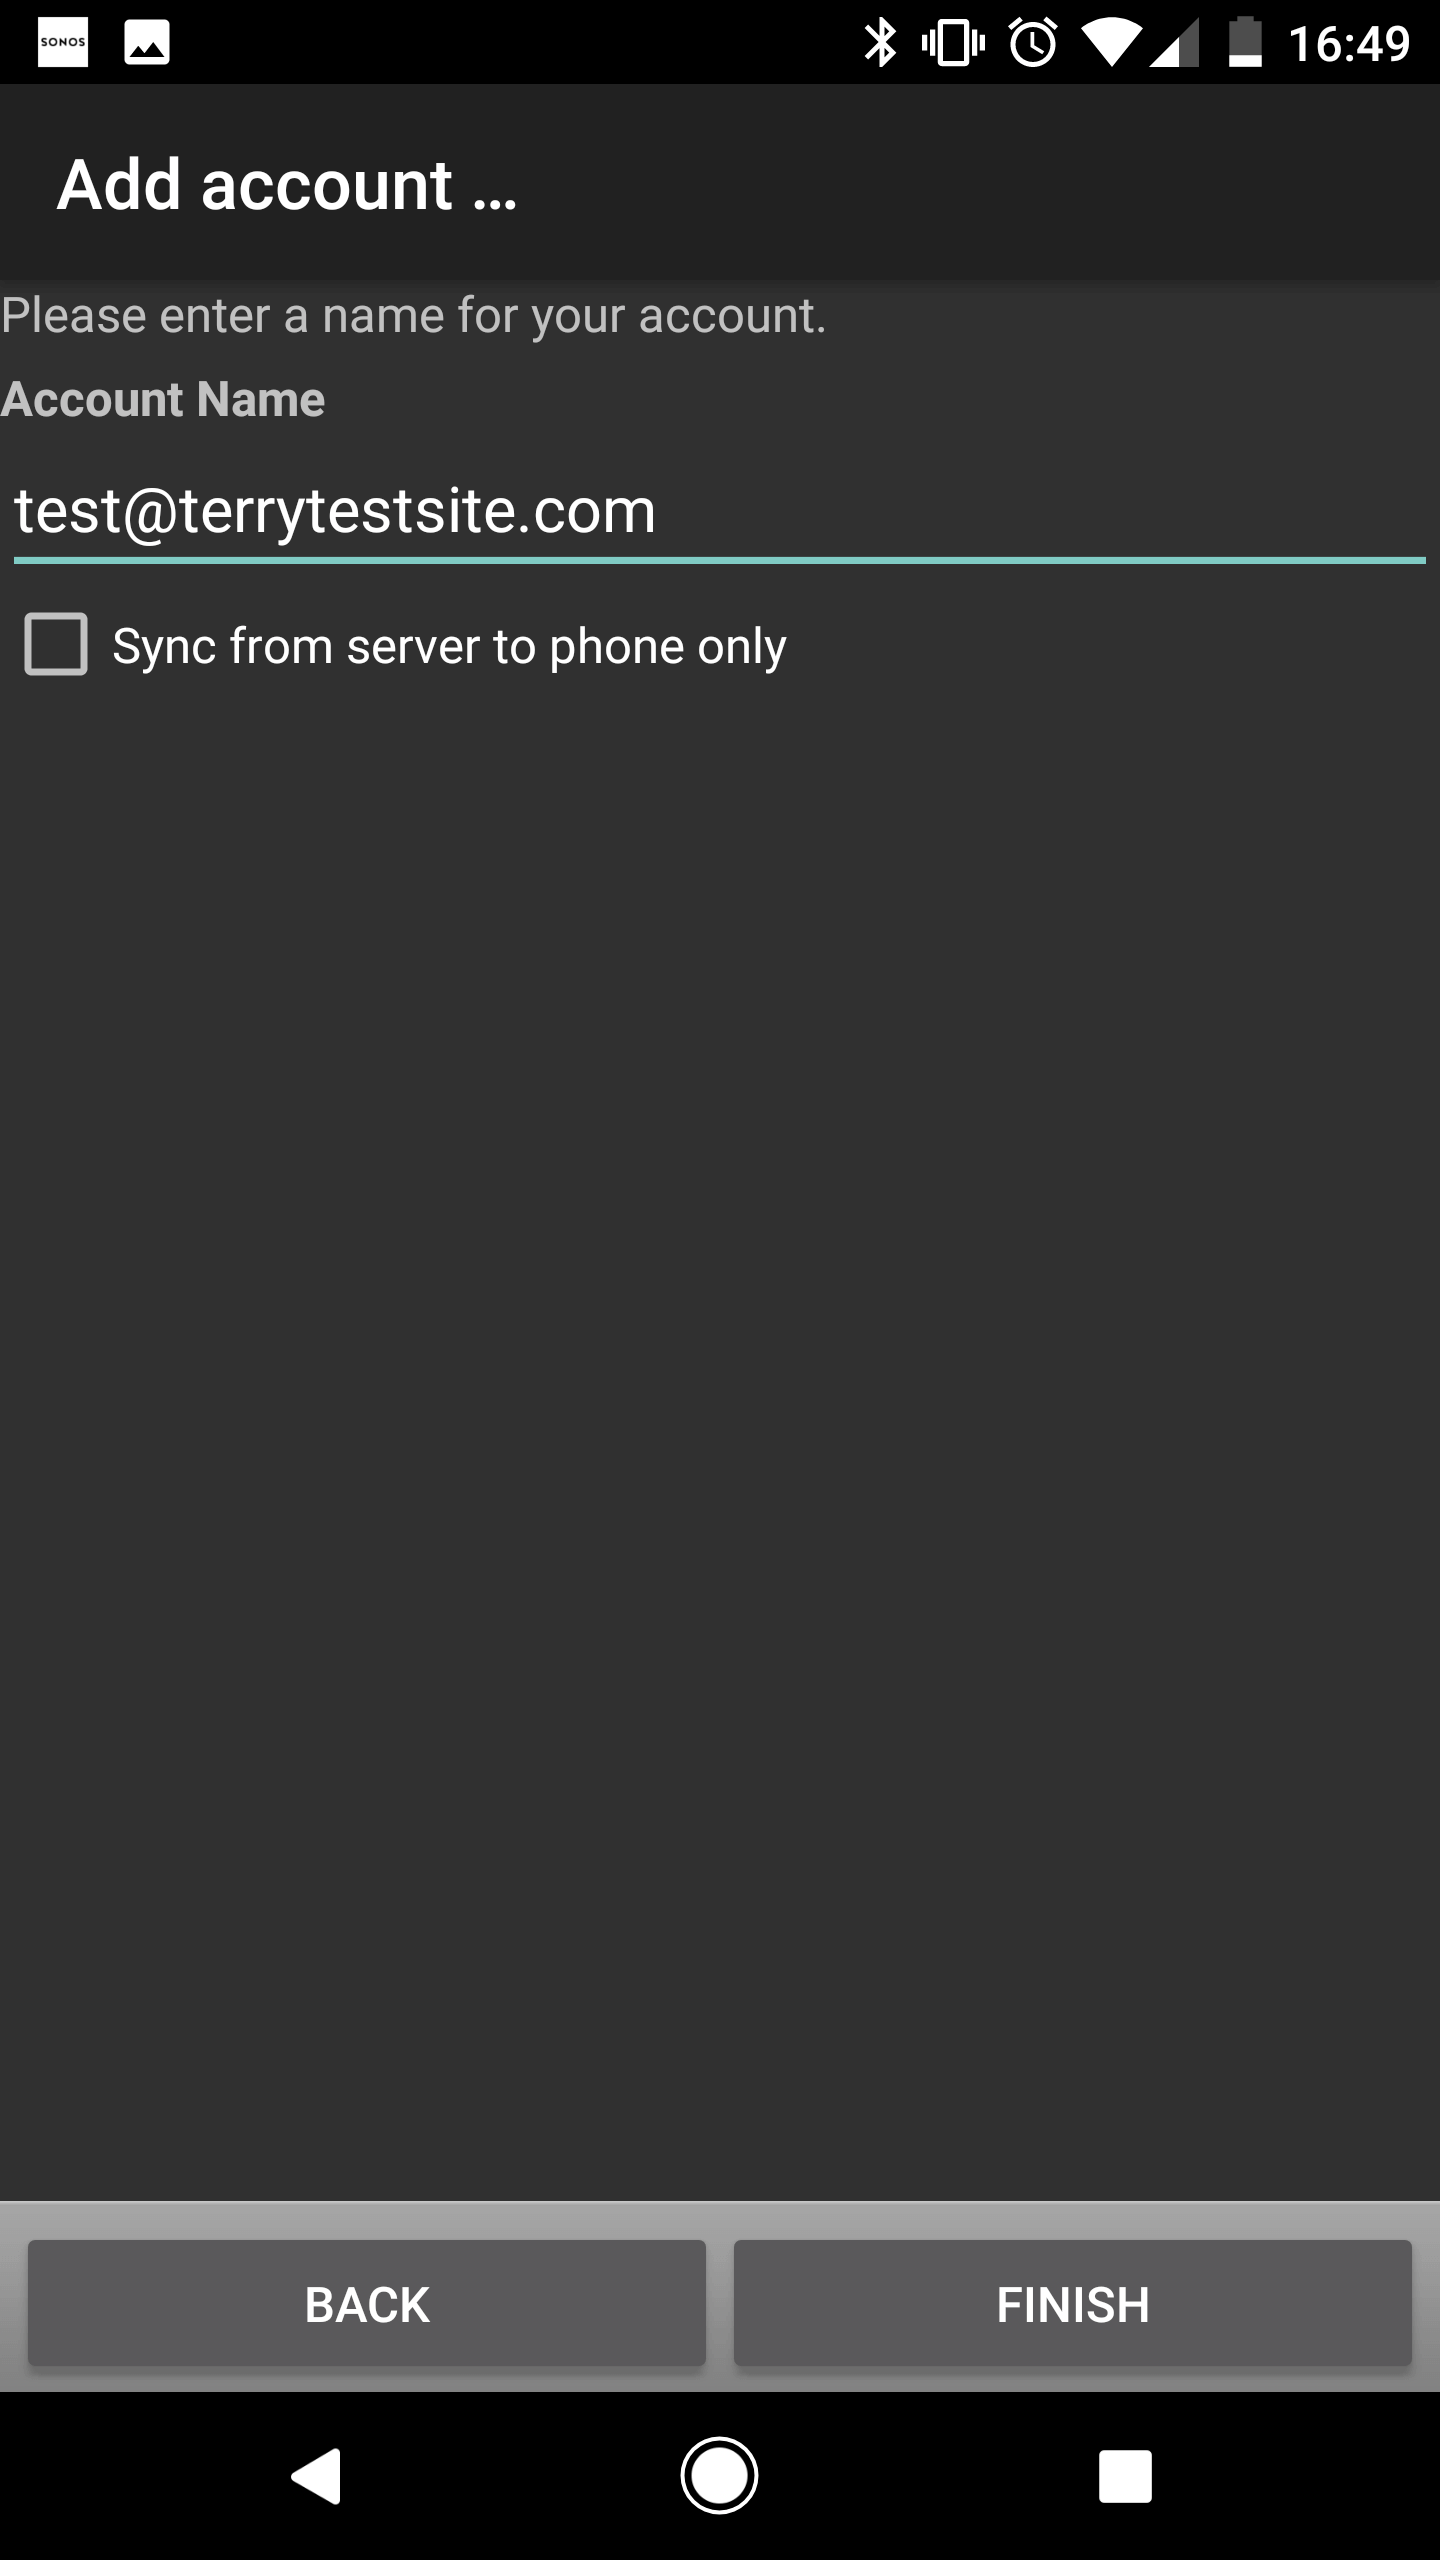
Tap Next to continue. In the next screen, you should see that your email address has been automatically populated as the account name to be used. Check Sync from server to phone only if you wish to synchronize contacts in one direction. Otherwise, leave the default settings in place and tap Finish.
Contacts in your HostPapa Basic Email account will now be visible in the Android Contacts app on your device. Any changes made to your contacts will show up on your device with a refresh.
Contacts synchronization for iOS devices
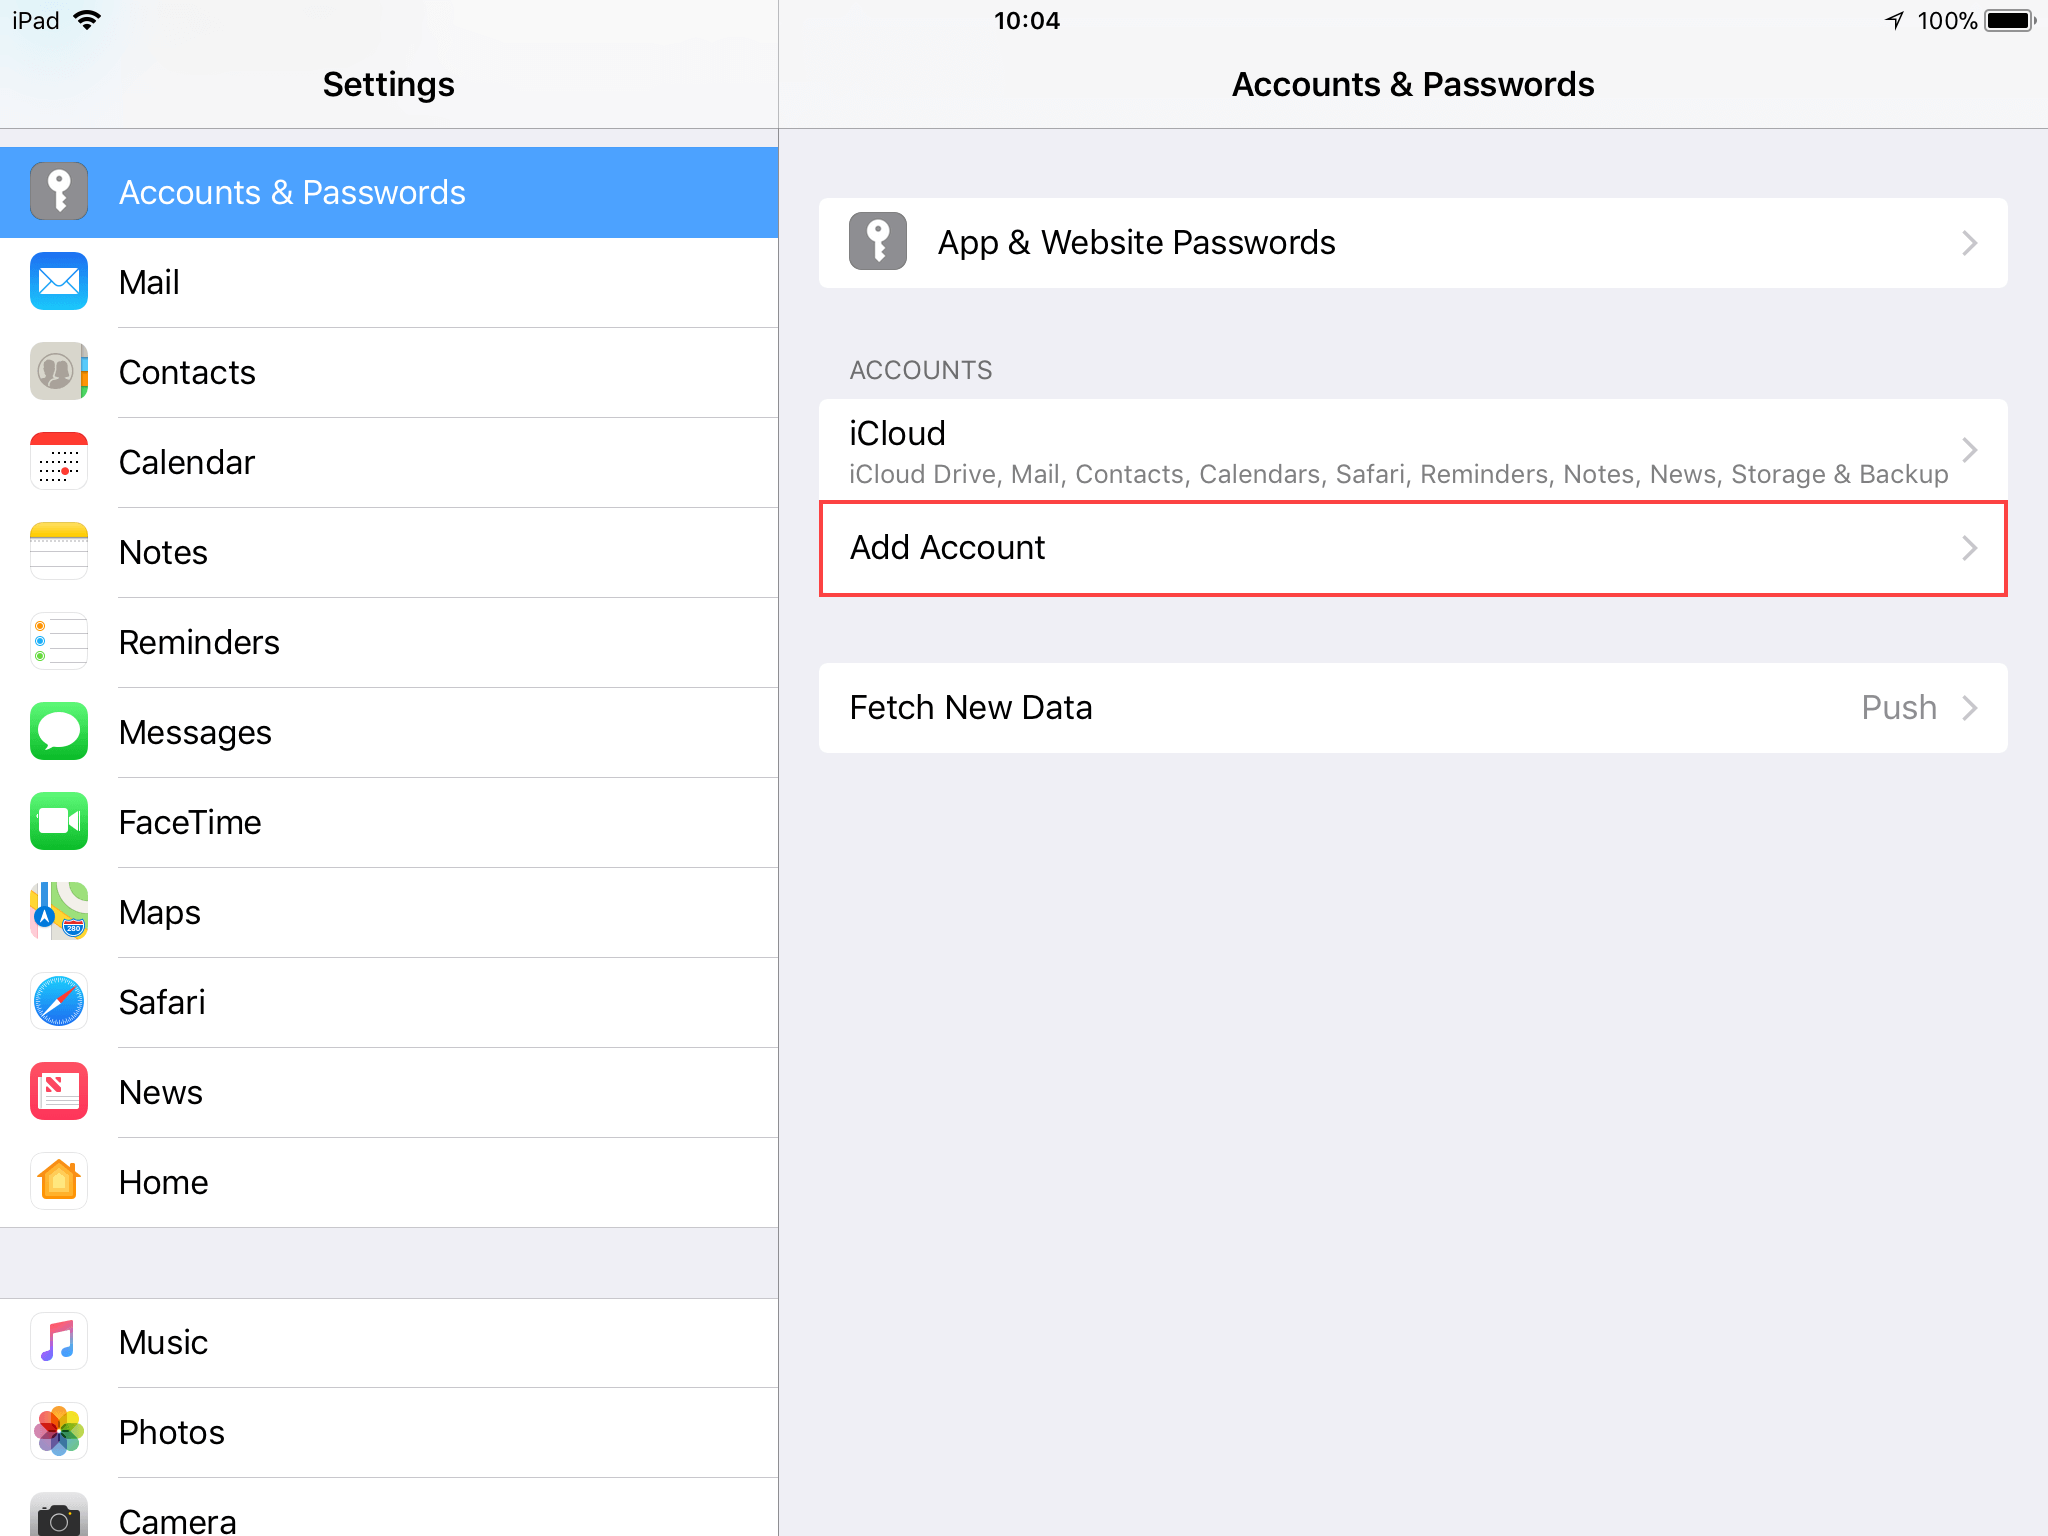
On your iOS device, open the Settings menu and tap Accounts & Passwords.
Tap Add Account.
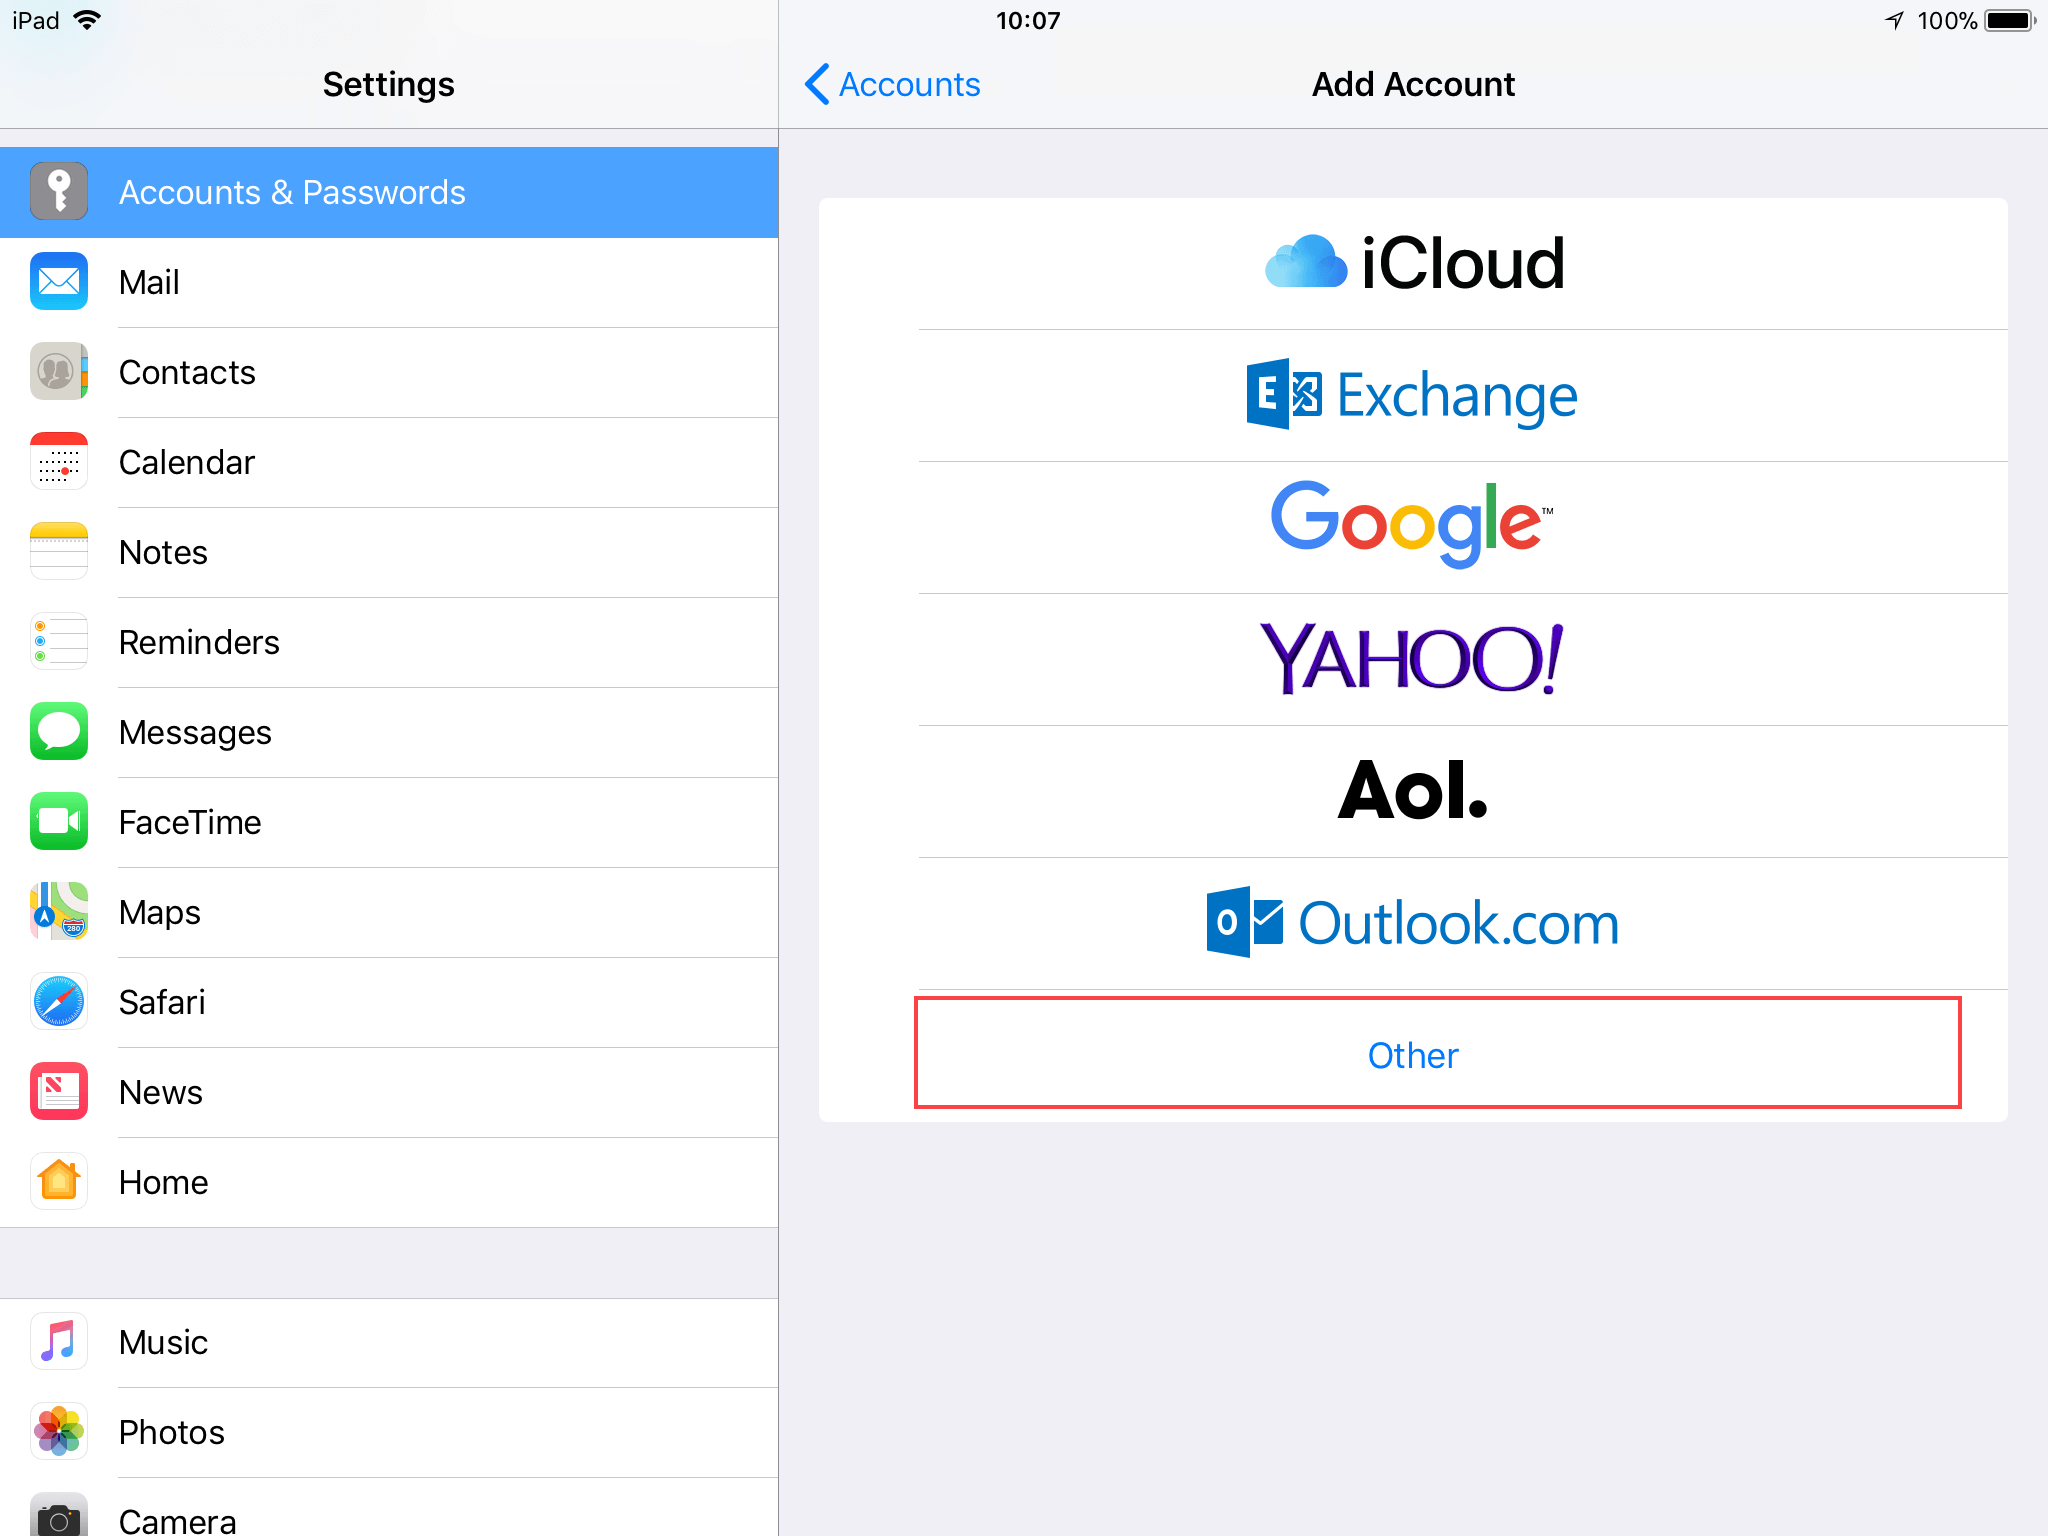
Select Other.
Under Contacts, tap Add CardDAV Account.
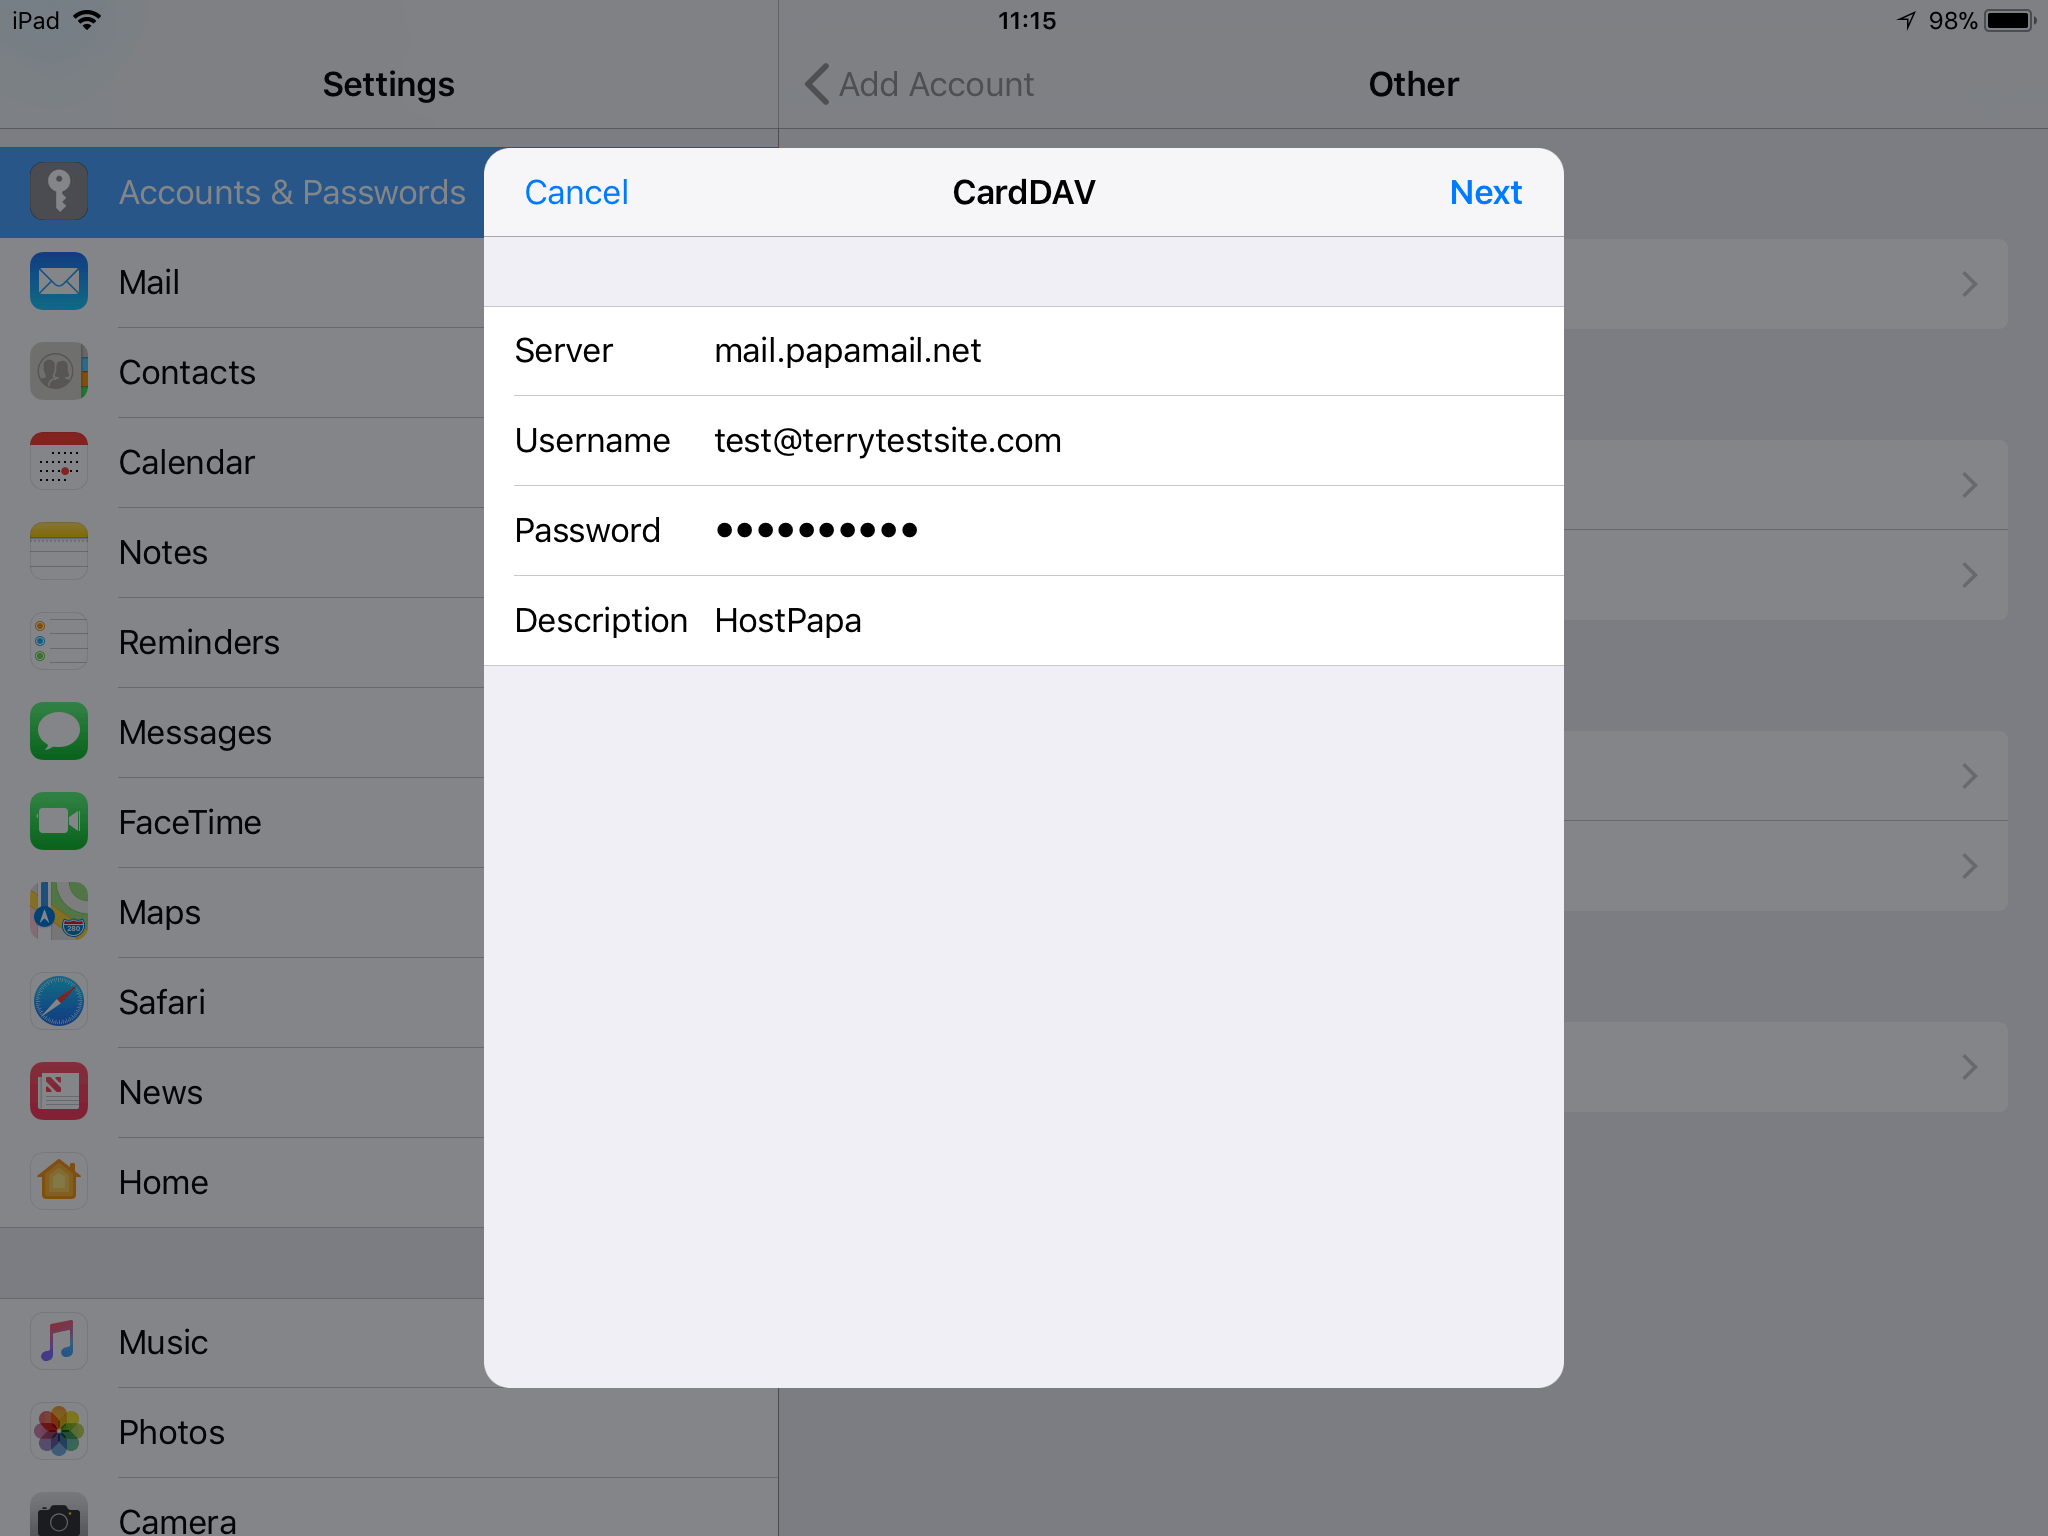
Enter the following details:
- Server: mail.papamail.net
- Username: enter your email address.
- Password: enter your email password.
- Description: enter a label for your account.
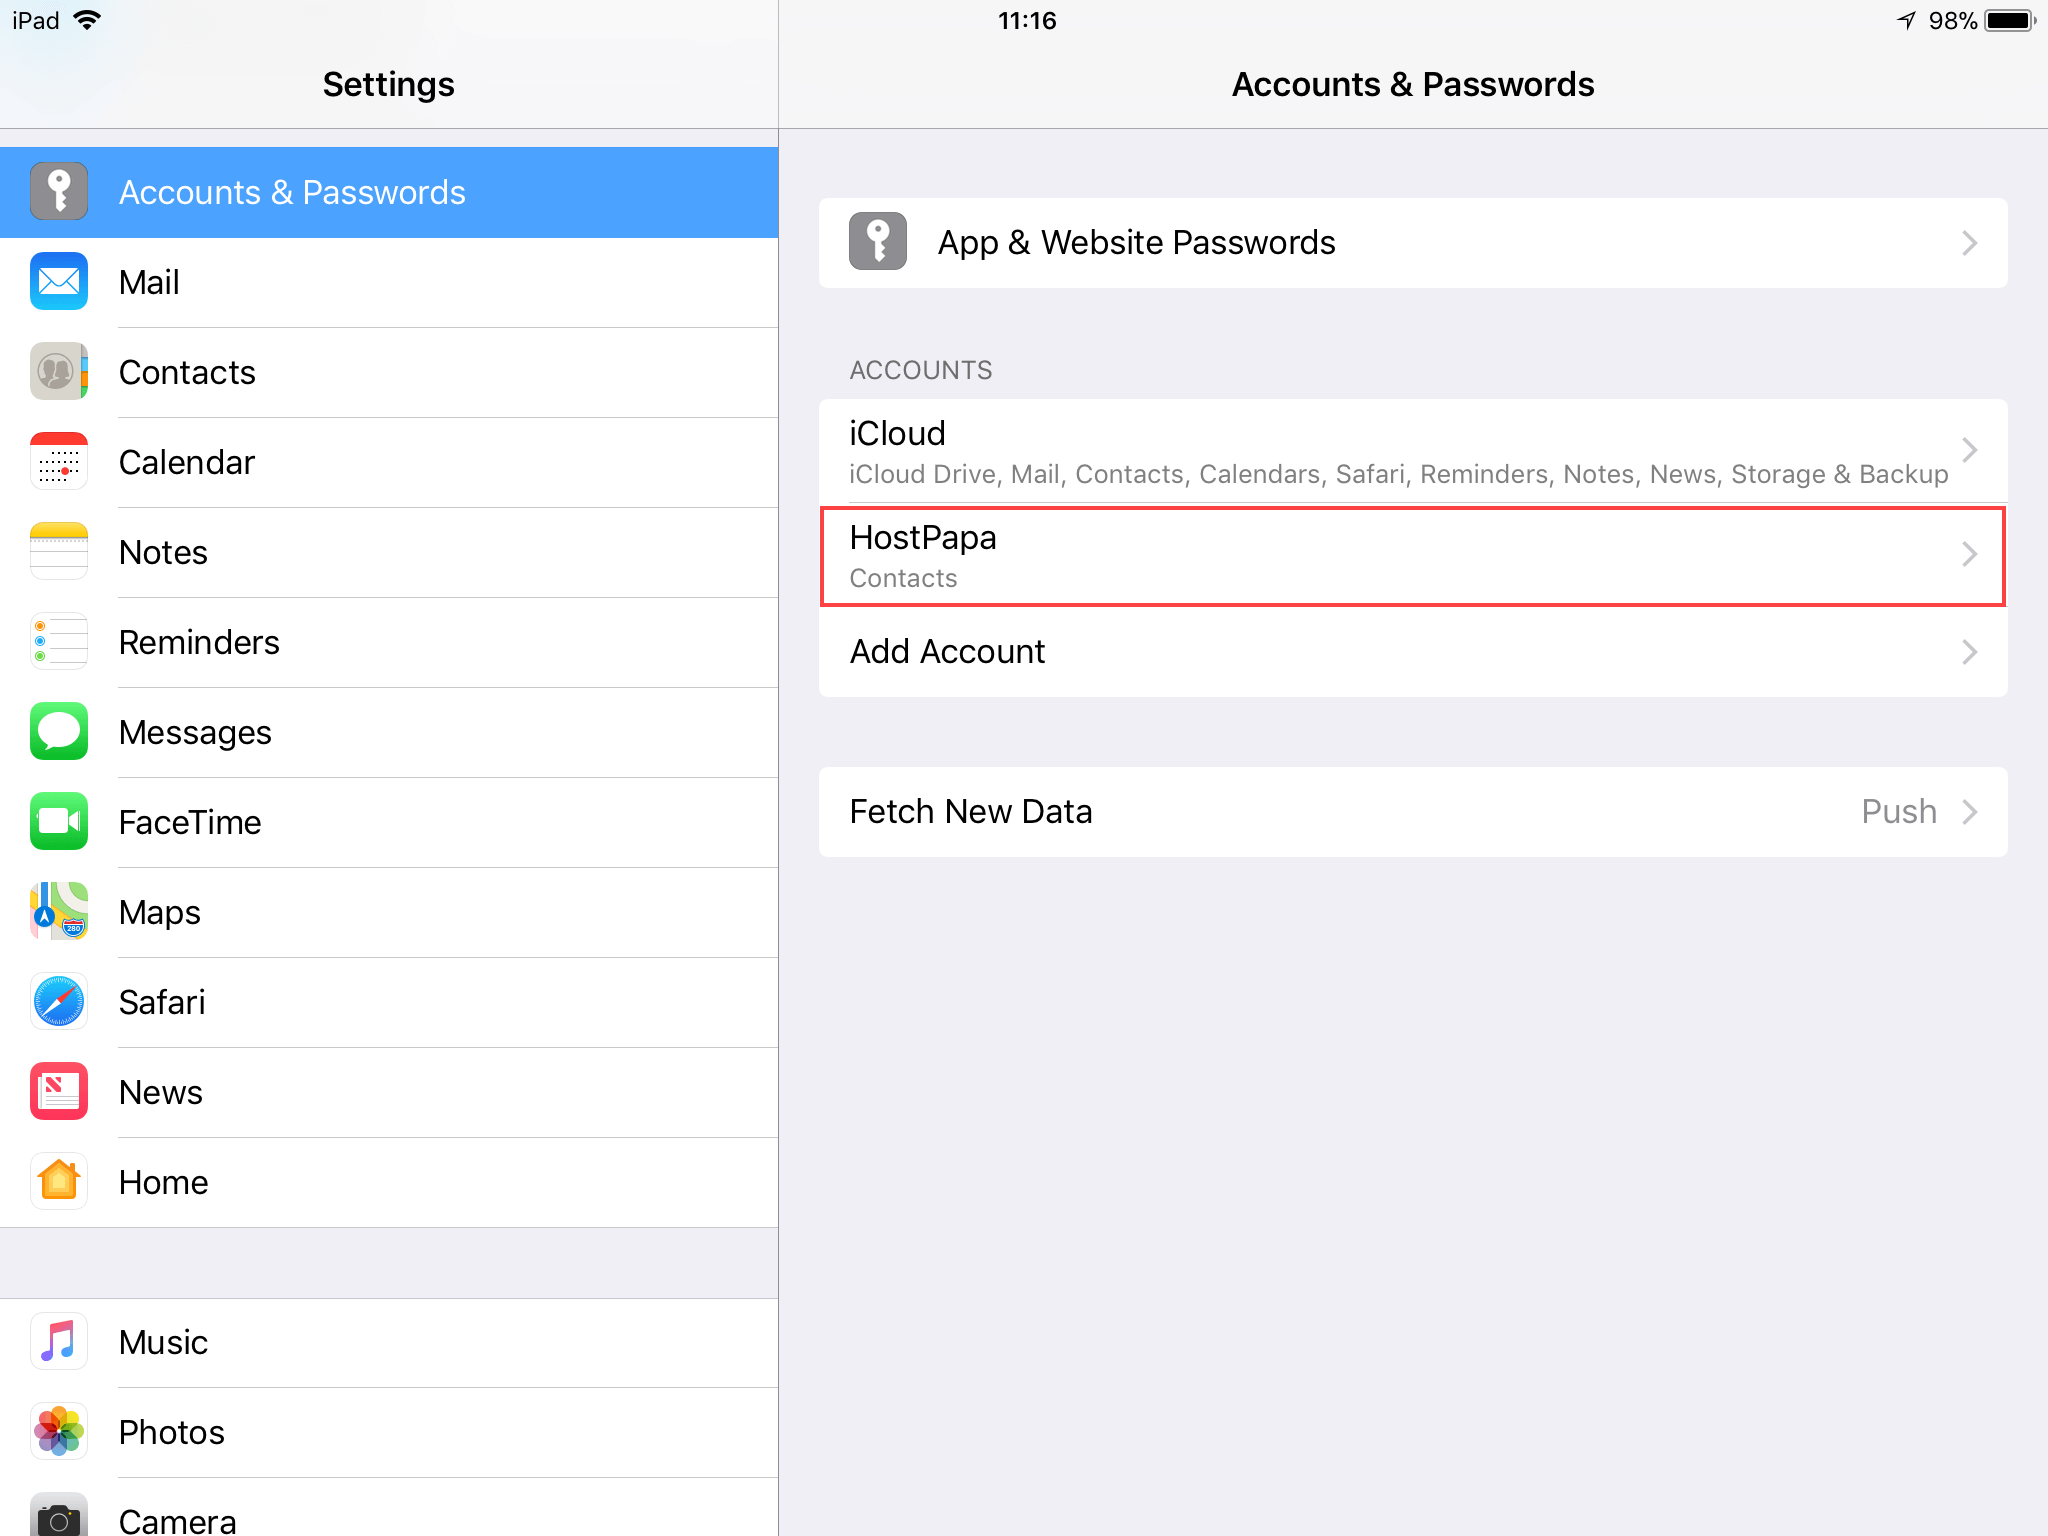
Contacts in your HostPapa Basic Email account will now be visible in the iOS Contacts app on your device. Any changes made to your contacts will show up on your device with a refresh.
For further questions, or if you need help, please open a support ticket from your HostPapa Dashboard. Follow this link to learn how.
